30 June 2014

Inside of dinghy largely finished, but a lot of tidying up still needed

All of the bulkheads are epoxied into place and I have cut and shaped the two seats. These are now receiving a coat of varnish every time I pass. I had her on the floor to get in and check that there will be knee room for me when rowing. All seems well

Inner gunwales fitted and inside epoxied, but needs fairing. I'll leave that to when I am ready to paint. The gunwales have gone in well as cutting them to the right length is a bit tricky.


Moment of truth when I turned her over, but all seems well. The ends of the plastic cable ties are surprisingly hard to cut off. There always seems a bit left proud of the plywood. I will attack them with the sander shortly.

24 June 2014

Interior bits of dinghy going in

I have glued in the central seat support spine and the main bulkhead, which keeps it in place and holds the shape of the hull. The stern seat parts are just propped in place to see how they look. Tricky to fit, as everything slopes and the internal corners are very rounded with the epoxy fillets.

I have cut off the first few stitches around the bow transom, just to see the effect. It will be easiest to cut them off when the hull is inverted.

22 June 2014

Fixed rudder lines and two days glorious sunshine 21nm

Lovely sunny sailing days, although the wind was a bit variable. I started by repairing my rudder blade control lines. One chafed through last week and looking at it, neither the uphaul nor downhaul was correctly routed. There wasn't really room for the lines used to fit round the roller which stops chafe. So I got two new dyneema 4mm lines. They are rated at nearly a ton, so I thought that would be strong enough.

Very neap tide, so I pulled her stern up on a slipway, unbolted the blade and had a good look. The old epoxy holding the lines in drilled out easily and I fitted the new lines using rapid setting araldite. Worked very well and it all slotted back in neatly. The dyneema is slightly stiff, which made it easy to just poke it back through the rudder head. The lines slip so easily around the roller now that I found I don't need the tackles to pull the rudder up or down, I can do it just pulling the line. So that has simplified the rudder head significantly. I have had to fit a thicker line just to the end of each, as the thin dyneema is very hard to grip, especially if you have sun tan lotion on your hands!

19 June 2014

Stern knees done

I cut and shaped the stern knees, which have fitted in quite well. Bit of an alarm when the adjustment lever under the table of my bandsaw broke. Eventually I found I can turn it with a mole wrench, but the spring loaded lever really was not good quality. It has broken once before. A shame as otherwise I have been very pleased with the saw.


18 June 2014

Bow knees

I have mad the bow knees out of some 18mm marine ply I had left over form another job. Both long edges need to be beveled, and the band saw came into its own for that. The fit is pretty good. They are screwed in place here, but they will be glued and screwed eventually. I need to make another pair for the stern.

Gluing the hull of the dinghy.

Started gluing up the dinghy, doing the transoms first. It does use a lot of epoxy, I shall need to order more. I am using MAS epoxy, which is easier than WEST epoxy as the ratio of hardener to resin is just 1:2 rather than 1:5 and so easier to get right. I am doing it by weight, with simple electronic scales. The resin bottles do have little measuring devices, but they are not easy to fill.

I am covering each filleted joint with nylon peel ply, with the hops that it will give me a smooth, low sanding finish. All will be revealed soon.

16 June 2014

Weekend sail, two nights on board and 28.3nm

The weather wasn't as great as forecast for the last weekend, but Saturday was warm and the sun did come through. One of those frustrating days when a cloud seemed stuck over the harbour, whilst it was sunny elsewhere. The engine was running very smoothly now, so I think earlier misfiring and stalling was due to old fuel. I must remember to get rid of all old fuel at the end of the season and not keep it over winter.

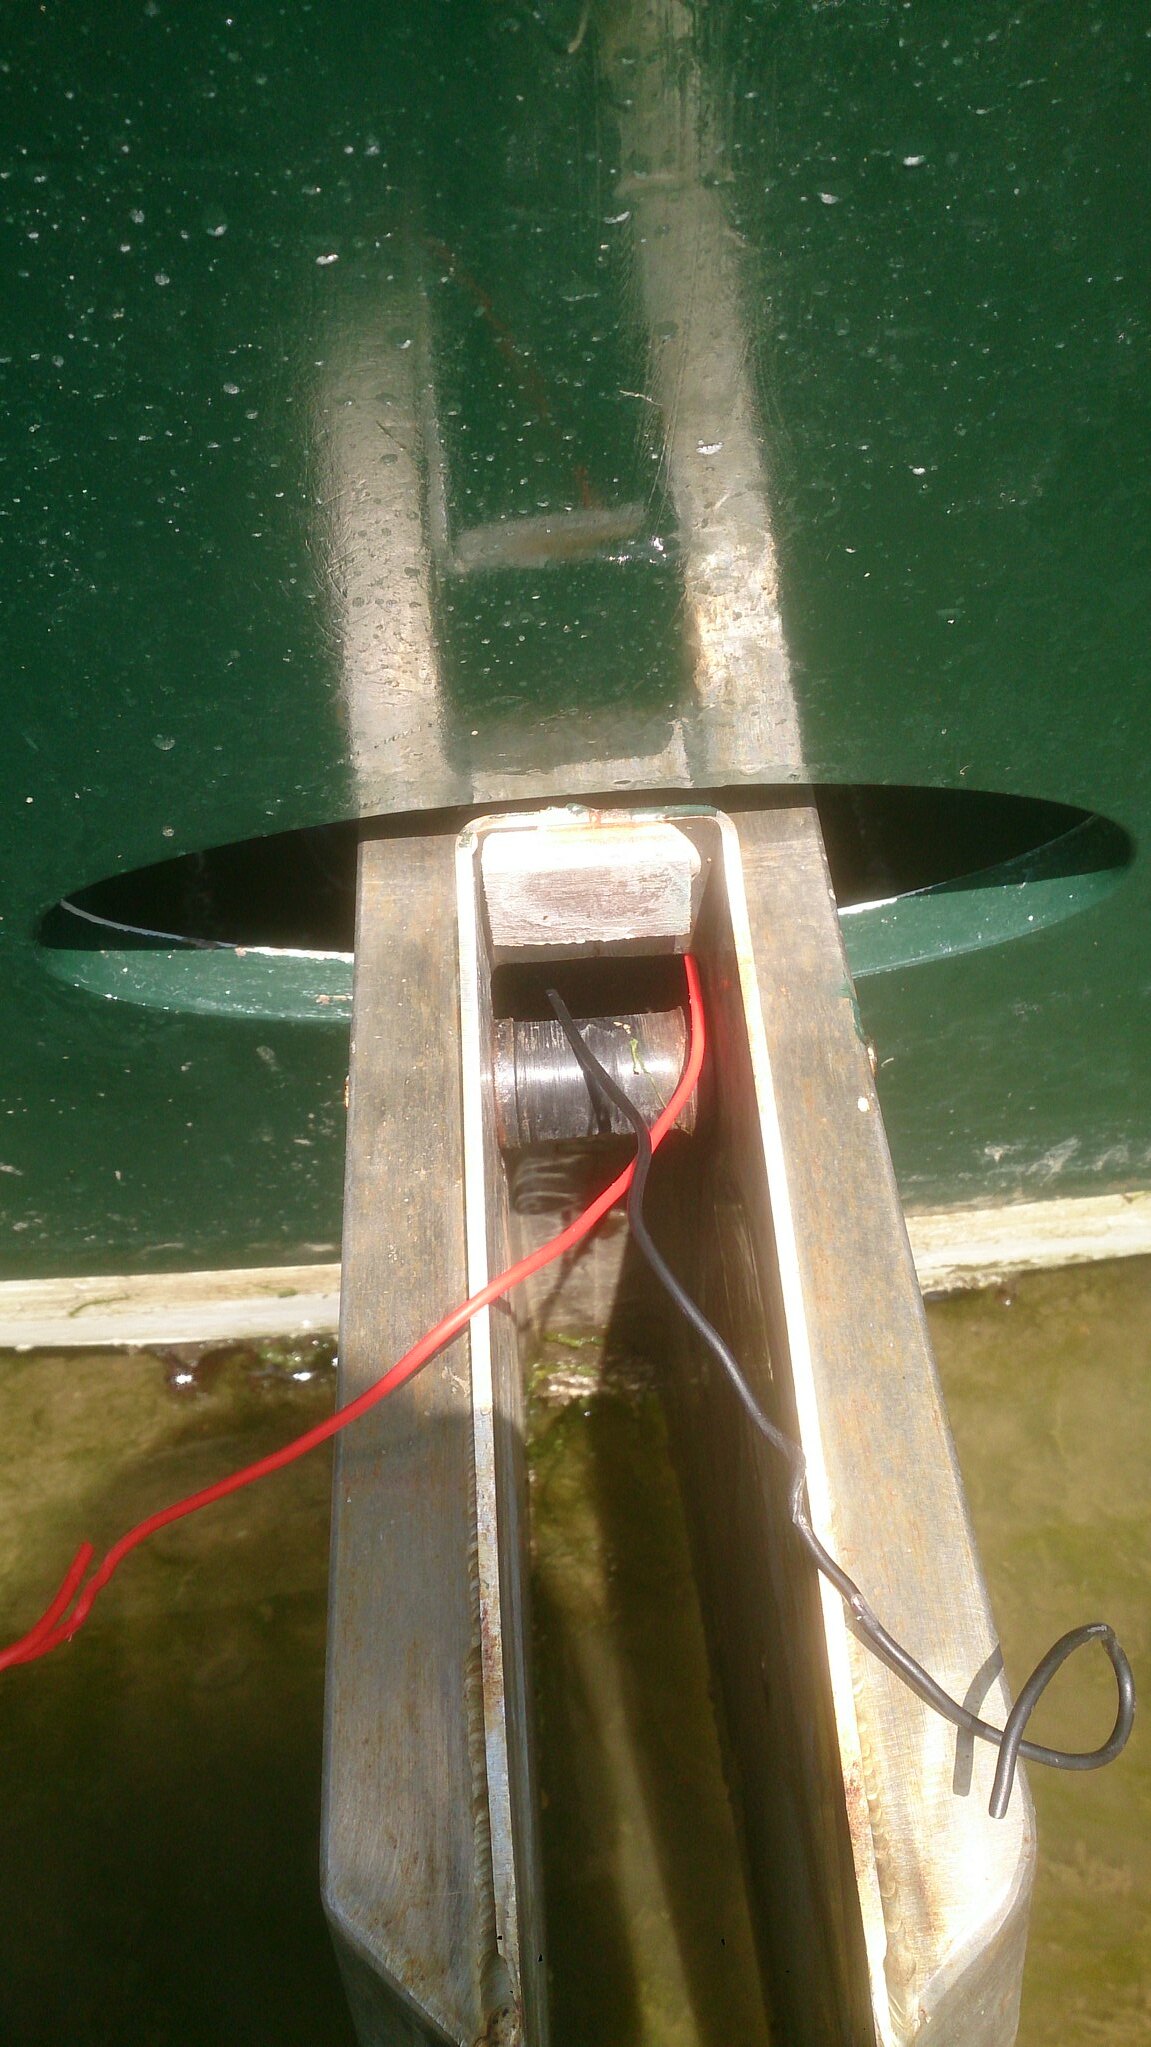
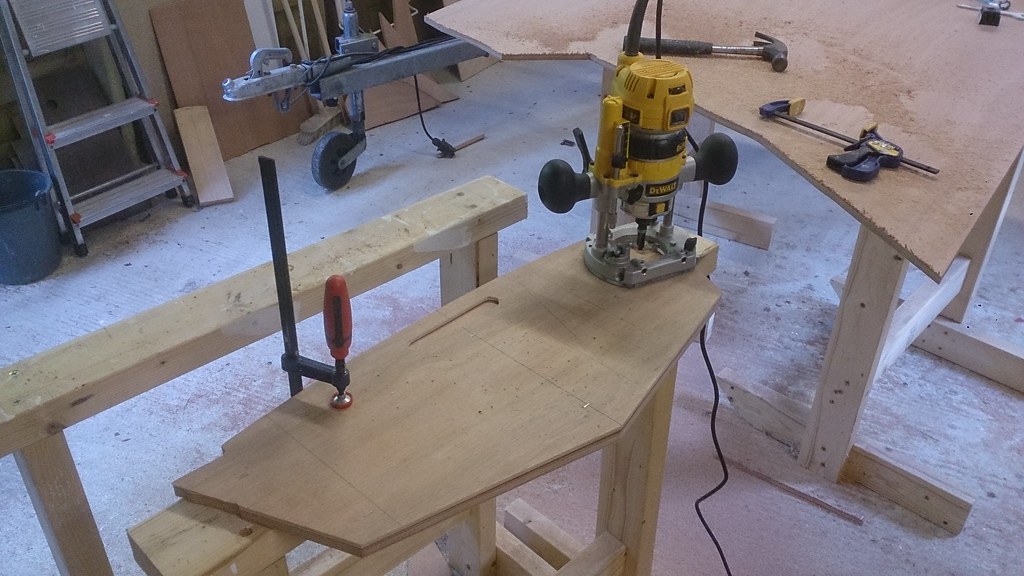
No major sails as I had a worrying breakage. The downhaul line for the rudder blade snapped. It was chafed right through. It looks like I hadn't rerouted it correctly around the roller when I replaced the lines over the winter. I managed to tie on a spare length of line and get it working, but I didn't want to go far afield with a dodge downhaul. I am going to have to replace the up and down hauls with thinner dyneema, so that they can actually fit properly around the roller, but that will take some time to do, as the lines will have to be drilled out and then epoxied back into place. A warm calm day needed for that as I will have to unship the rudder blade.

One curious instance was when I did sail out of the harbour for a short sail to Studland beach. I was sailing with the tide, and the wind was just strong enough to push me at about the same speed as the tide. This meant I had no control over the boat at all. No steerage way as I was apparently stationary in the water. Not pleasant as I got too close to the training wall. in the harbour mouth. In the end I just had to turn and sail against the tide, which gave me back control.

Very strong tides this weekend, and a two man dinghy was swept against and under the chain ferry. One crew pulled onto the ferry, and one picked up by another boat. Several lifeboats in attendance. Must be a terrifying experience. I always give the ferry a huge clearance.

13 June 2014

Panels stitched on the dinghy and I'm off to Poole

The panels have all been stitched together and everything looks pretty good. I have cut a new cross bulkhead because I fouled up the edge of the first with a router, trying to round it over. Now I have just sanded it. All seems square and sound, so when I have a bit of time, the next stage involves glue... Off to sail in the sun.

11 June 2014

All panels for dinghy cut ,and it looks like it might be a sailing weekend at last

I have cut out all of the marine ply panels for my new dinghy. Cut the templates in cheap ply, which I found I could cut quite accurately with a jig saw. Then nailed the templates to a double layer of 6mm marine ply, cut out around the templates with the jigsaw and then finished off with a bearing guided router cuter. All remarkably easy.The beauty id that I could use the templates to cut out another dinghy in just a couple of hours now. I need to look after them.

The panels need to be sealed with epoxy and then stitched together with cable ties, which will take an awful lot of hole drilling. I probably need to get a few spare drill bits as I am bound to break them. I am going to use cable ties rather than copper wires. That is how Daisy G was built, so it is good enough for me.

This shows all the panels, seen form the stern. Just need to stitch them together now...
Weather looks like it might be good this weekend so hope to get back out on the water at last.

9 June 2014

Cutting first panels for dinghy

I have cut out the templates for all of the internal panels and transoms in thin ply and MDF. Careful cutting with Japanese saws and a fine jig saw seemed to work pretty well. All of these will be in 12mm marine ply, so I fixed all the templates to one end of a full sheet. This leaves me with nearly half a sheet for future projects. I stapled the templates on, which seemed a good idea, but the MDF was a bit thick, so I had to use nails in the end. Then carefully cut round all with a fine jigsaw blade. I left a good margin, but it would be worth cutting closer, with care, to save on the final routing.

Next each panel was clamped and cut around with a guided router. The principle works very well. You get an exact replica of the template. It is slow work, so a fine line of waste to cut away would be worth aiming for. The staples got in the way more than I thought they would, and resulted in one wobbly edge to the bow transom. Fortunately this will be buried in the joint, but shows you need to be very careful.

Once all of these internal panels and transoms are finished and shaped, I will cut out the main strakes the same way. I should be able to cut them two ate a time, which should result in perfect matches...

5 June 2014

New tools

I've invested in  Tormek T3 tool sharpening system. I have tried just about every other method of chisel and plane sharpening and I'm rubbish at all of them. Traditional stones just take too long and I always end up with edges skewiff or rounded over. I bought a machine from Rutlands which had a horizontal wheel of sandpaper, which was idiot proof and guaranteed to give a perfect edge and not over heat the tool. It does overheat, it won't hold an bench plane blade and the paper wears out faster than the edge can be ground. As my Dad said "some idiots are more proof than others". I've avoided Tormek because, surprise, surprise, it is expensive. There's usually a reason.

I've set it up, which was very straight forward. I've reground and honed one chisel so far and it looks just fine. It's quiet and there are no sparks as it is a water stone. I should have got it years ago when they were a bit cheaper (but then I was a bit poorer then)