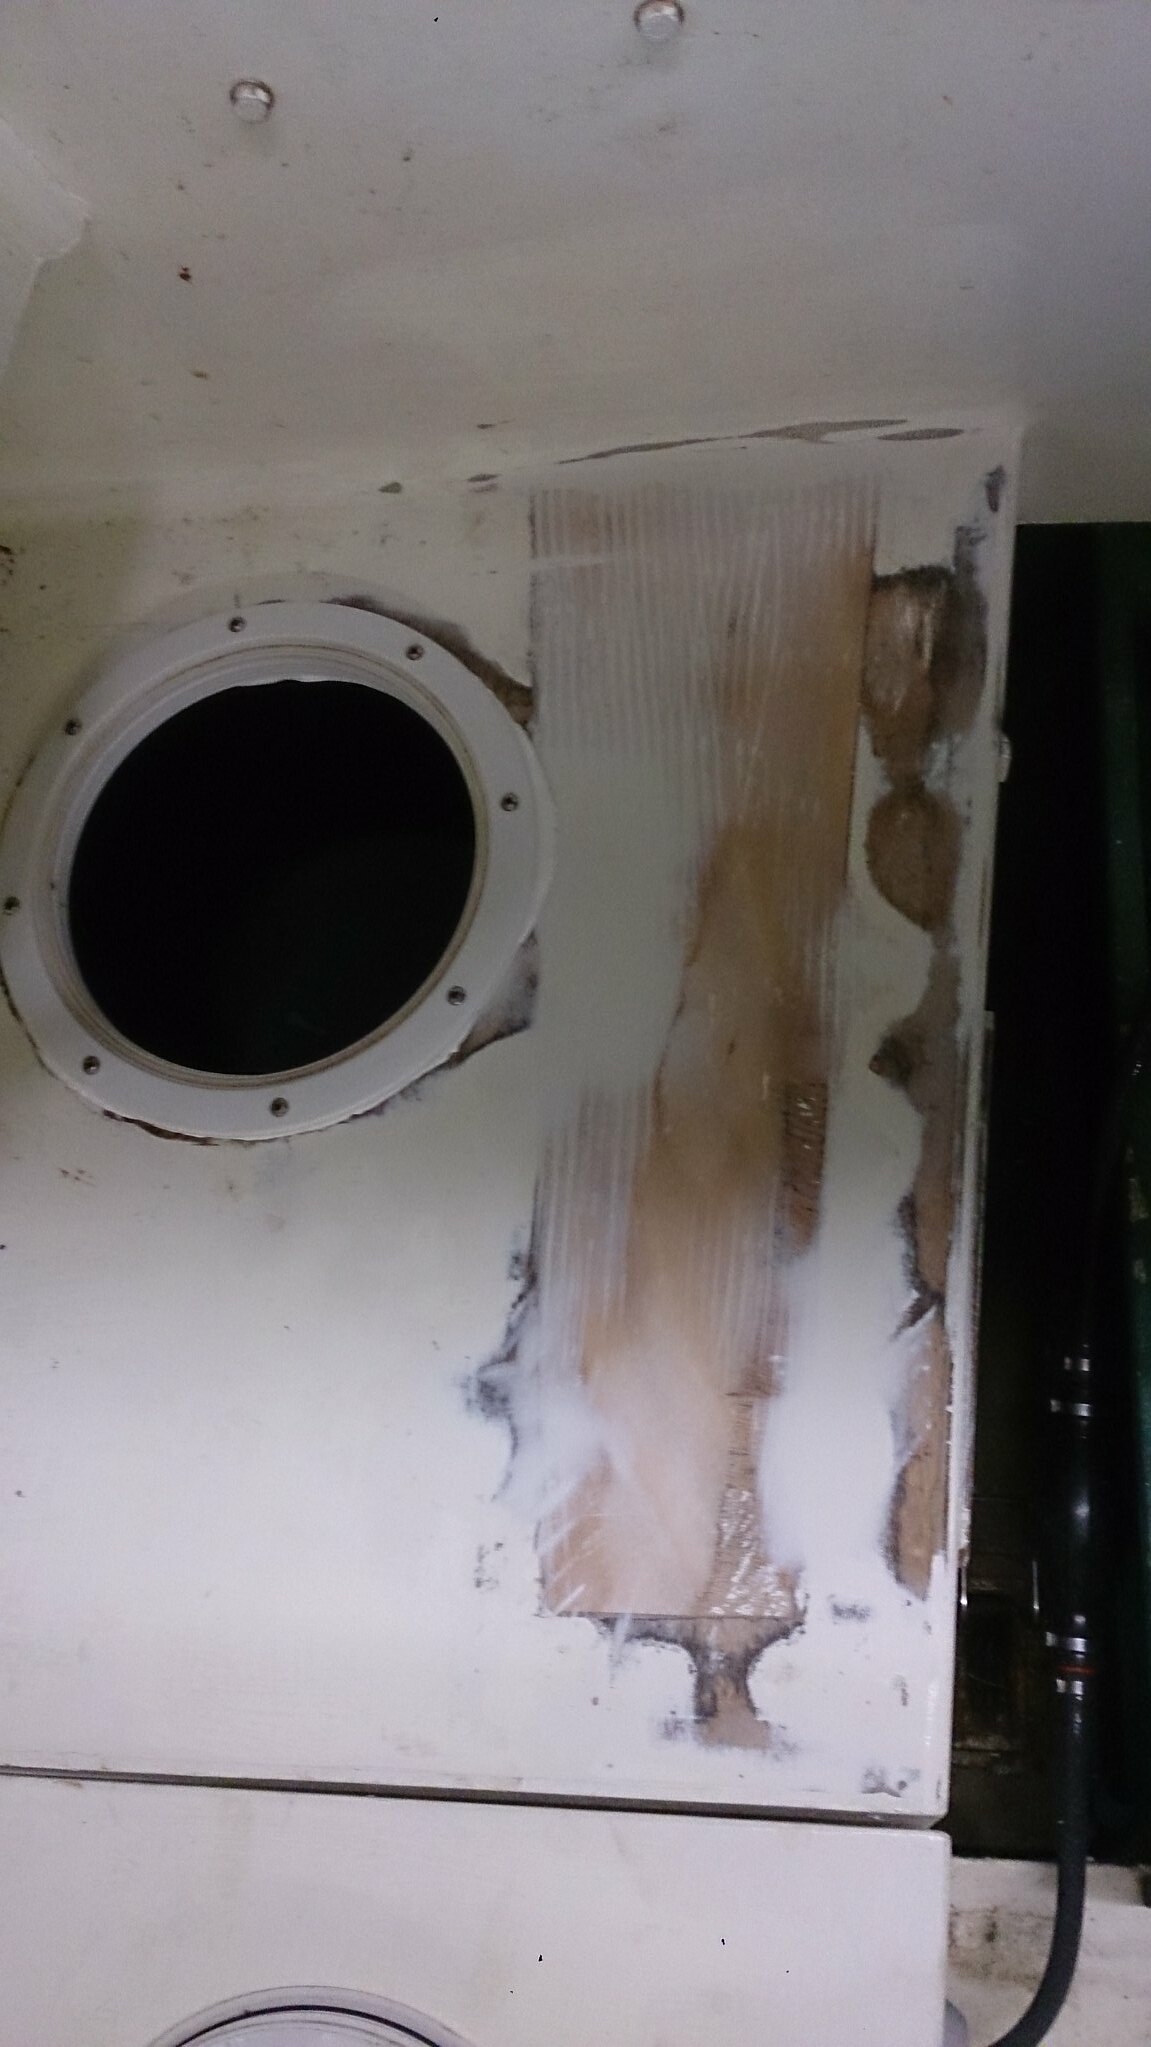
The basic repair to the cockpit deck is complete. I stuck in the infill panel with epoxy and then planed the patch down to flush with the deck. Some bits were a bit too low, so I spread on a layer of epoxy thickened with micro-balloons, which is supposed to give an easily sanded finish. I tried the technique of putting on the first layer with a notched spreader. The ridges are sanded down and then the remaining grooves filled in. It seemed incredibly hard, so I ended up planing off the ridges.
I then filled in the grooves with ordinary marine filler. This did sand down easily and although it looks a mess, it is completely smooth. When it is painted I have hopes that it really will be undetectable.
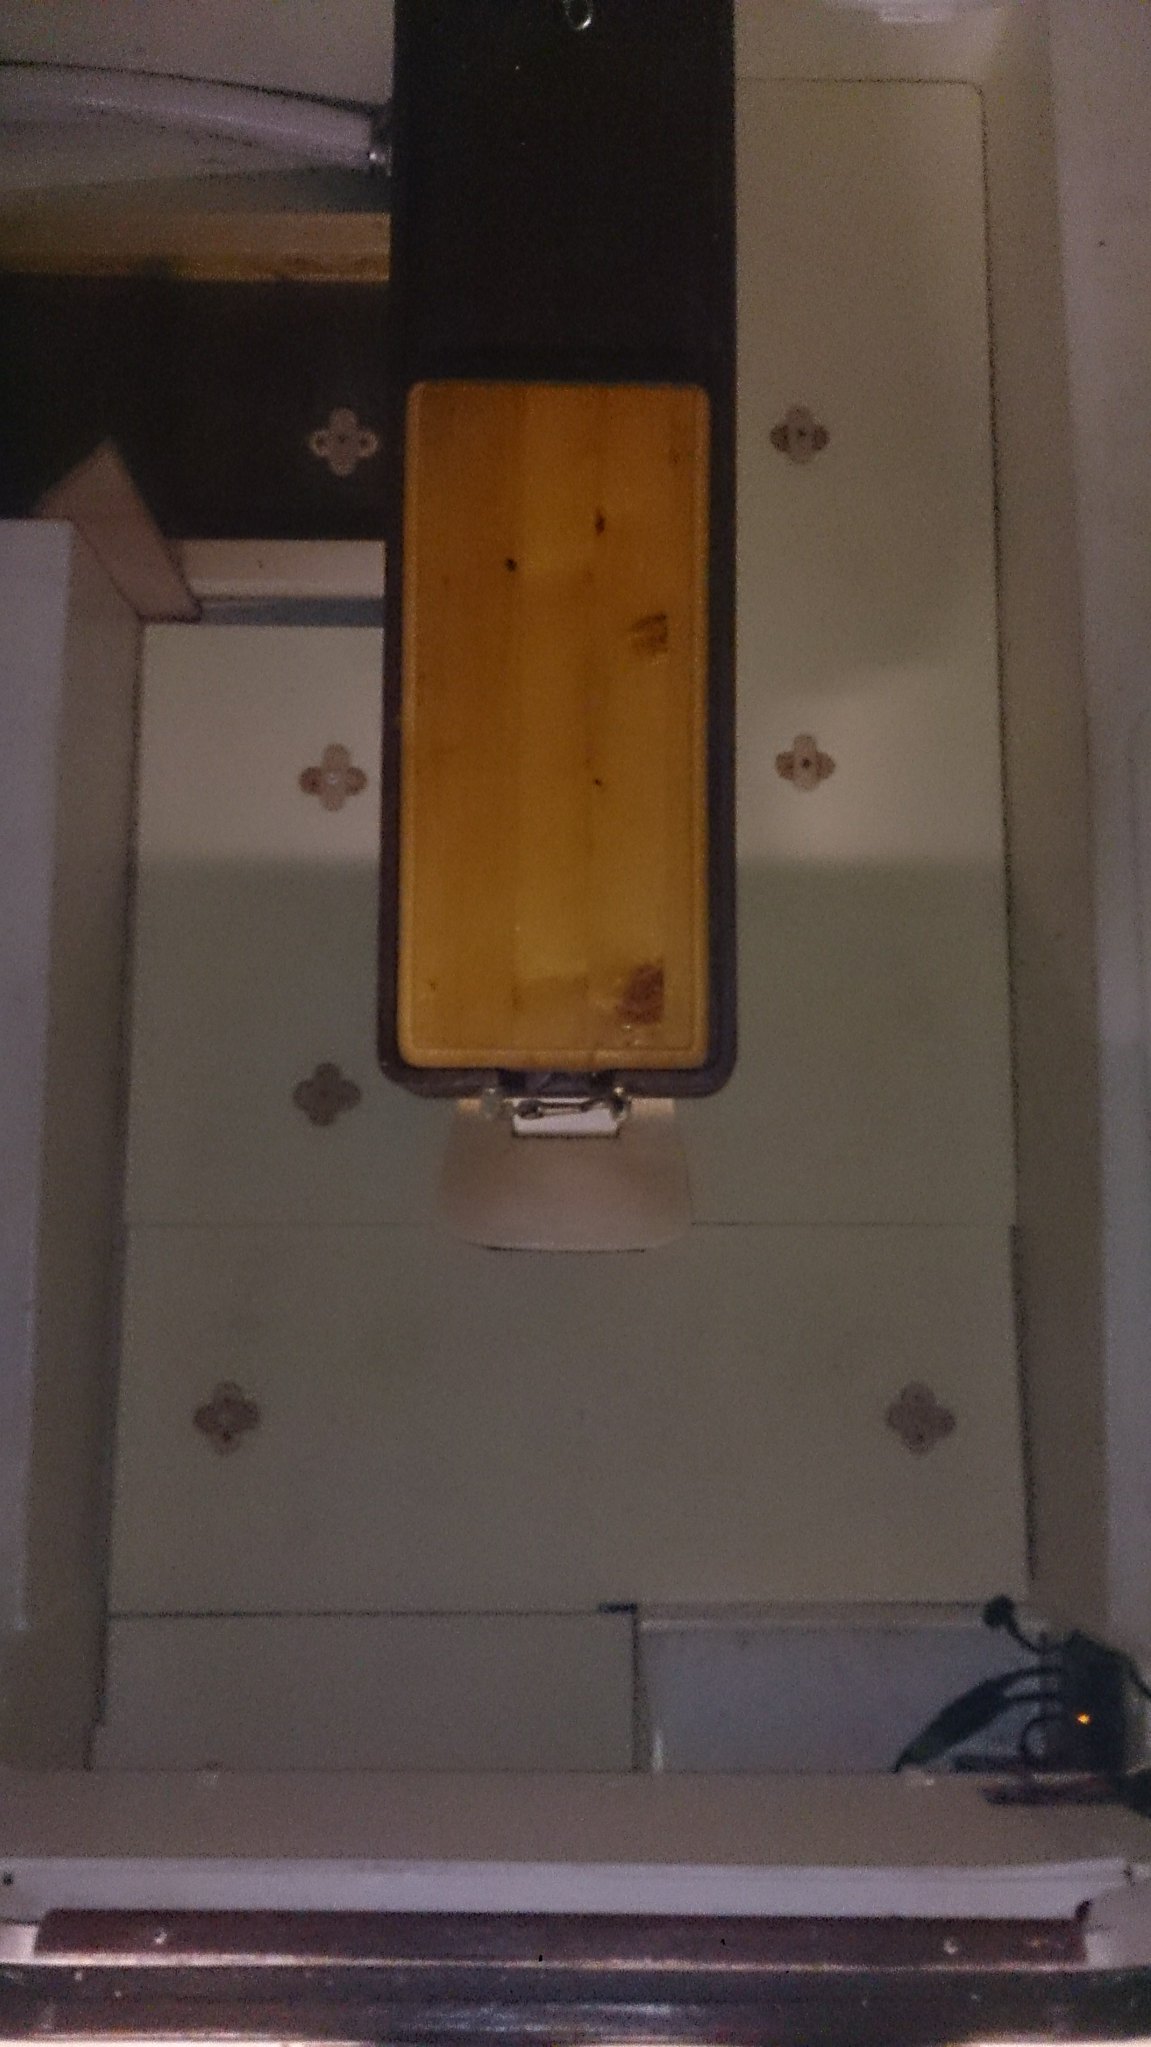
I have fitted turn buttons to the cabin floors and painted the boards with non-slip paint. I should now be able to lift the floor quickly at any time. I am not convinced by the paint as I think it may hold too much dirt, but I want to do away with the weight of floor finishes. I add too much to the boat and want to cut back next year.
30 September 2014
21 September 2014
Fitting deck glands
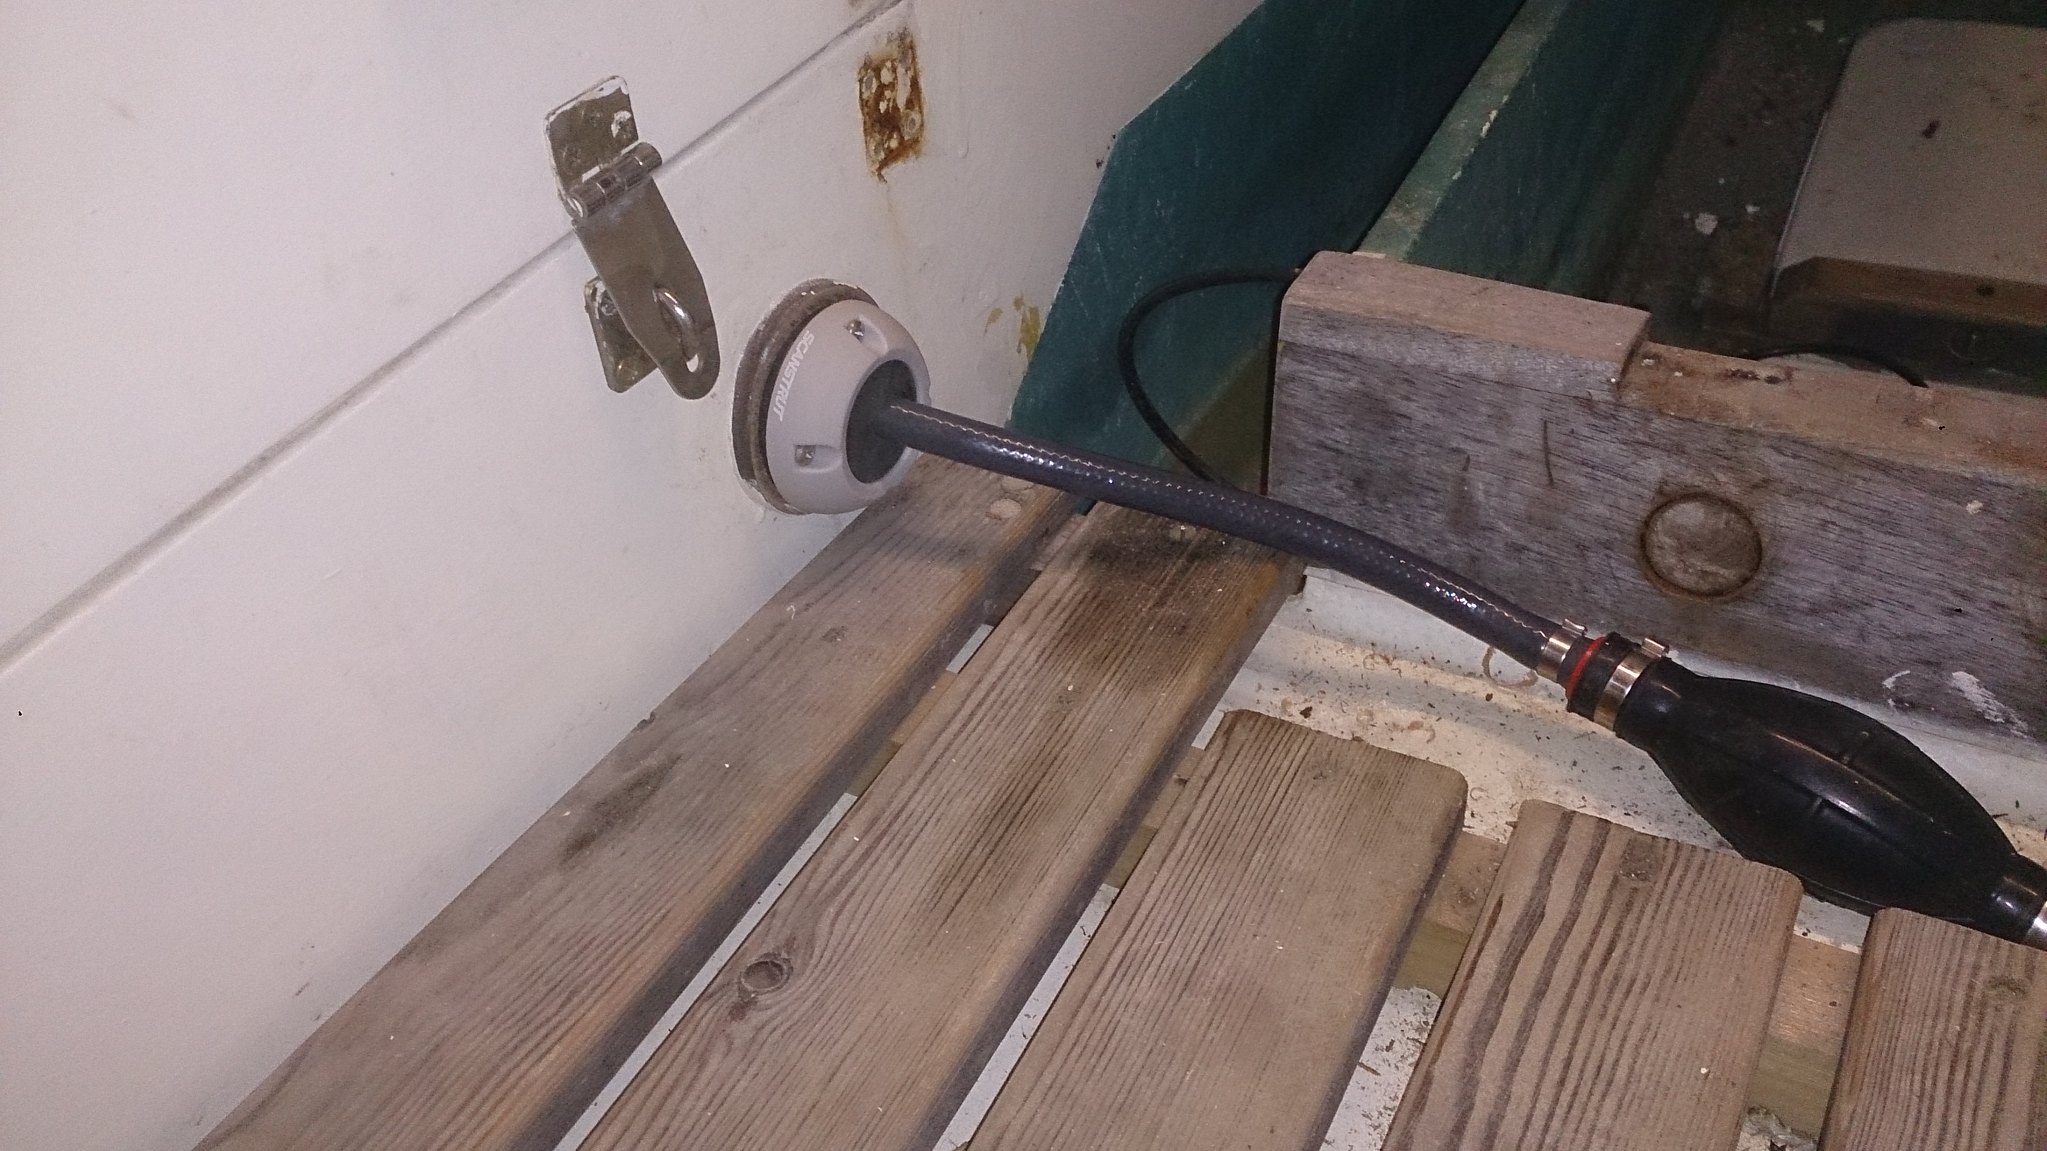
I came back form the Southampton Boat Show with bags of bits. One has proved far better than I anticipated. I wanted to fit a deck gland round the fuel pipe, so that I could block off the existing opening into the locker. This has let a lot of water in in the past, especially when I have several people on board and the stern is depressed. I assumed I would have to drill a new hole for the fuel pipe, and fill in the existing large hole. What I found was that the gland base covers the existing hole perfectly, so I can carry on using the same hole, but now it is waterproof. Not often that things just fit so neatly.
I am going to reroute the depth sounder cable to the opposite side of the boat. I can take it directly into the end of the quarter berth, through another deck gland, and then through trunking to the display unit. This means no unsealed holes into the cabin, which is how it is routed at present.
I am going to reroute the depth sounder cable to the opposite side of the boat. I can take it directly into the end of the quarter berth, through another deck gland, and then through trunking to the display unit. This means no unsealed holes into the cabin, which is how it is routed at present.
18 September 2014
Re-doing deck repair
I am re-doing the repair to the deck in the cockpit. It didn't look good and still flexed too much. When I had a closer look, the crack went right to the edge of the hatch opening. So I cut out a much larger area and started gluing substantial 12mm plywood beams under the edges. The deck around the hatch is very solid now, and when the infill goes in, it should be far better. Looks terrible at the moment.
16 September 2014
Outboard well blanking plate.
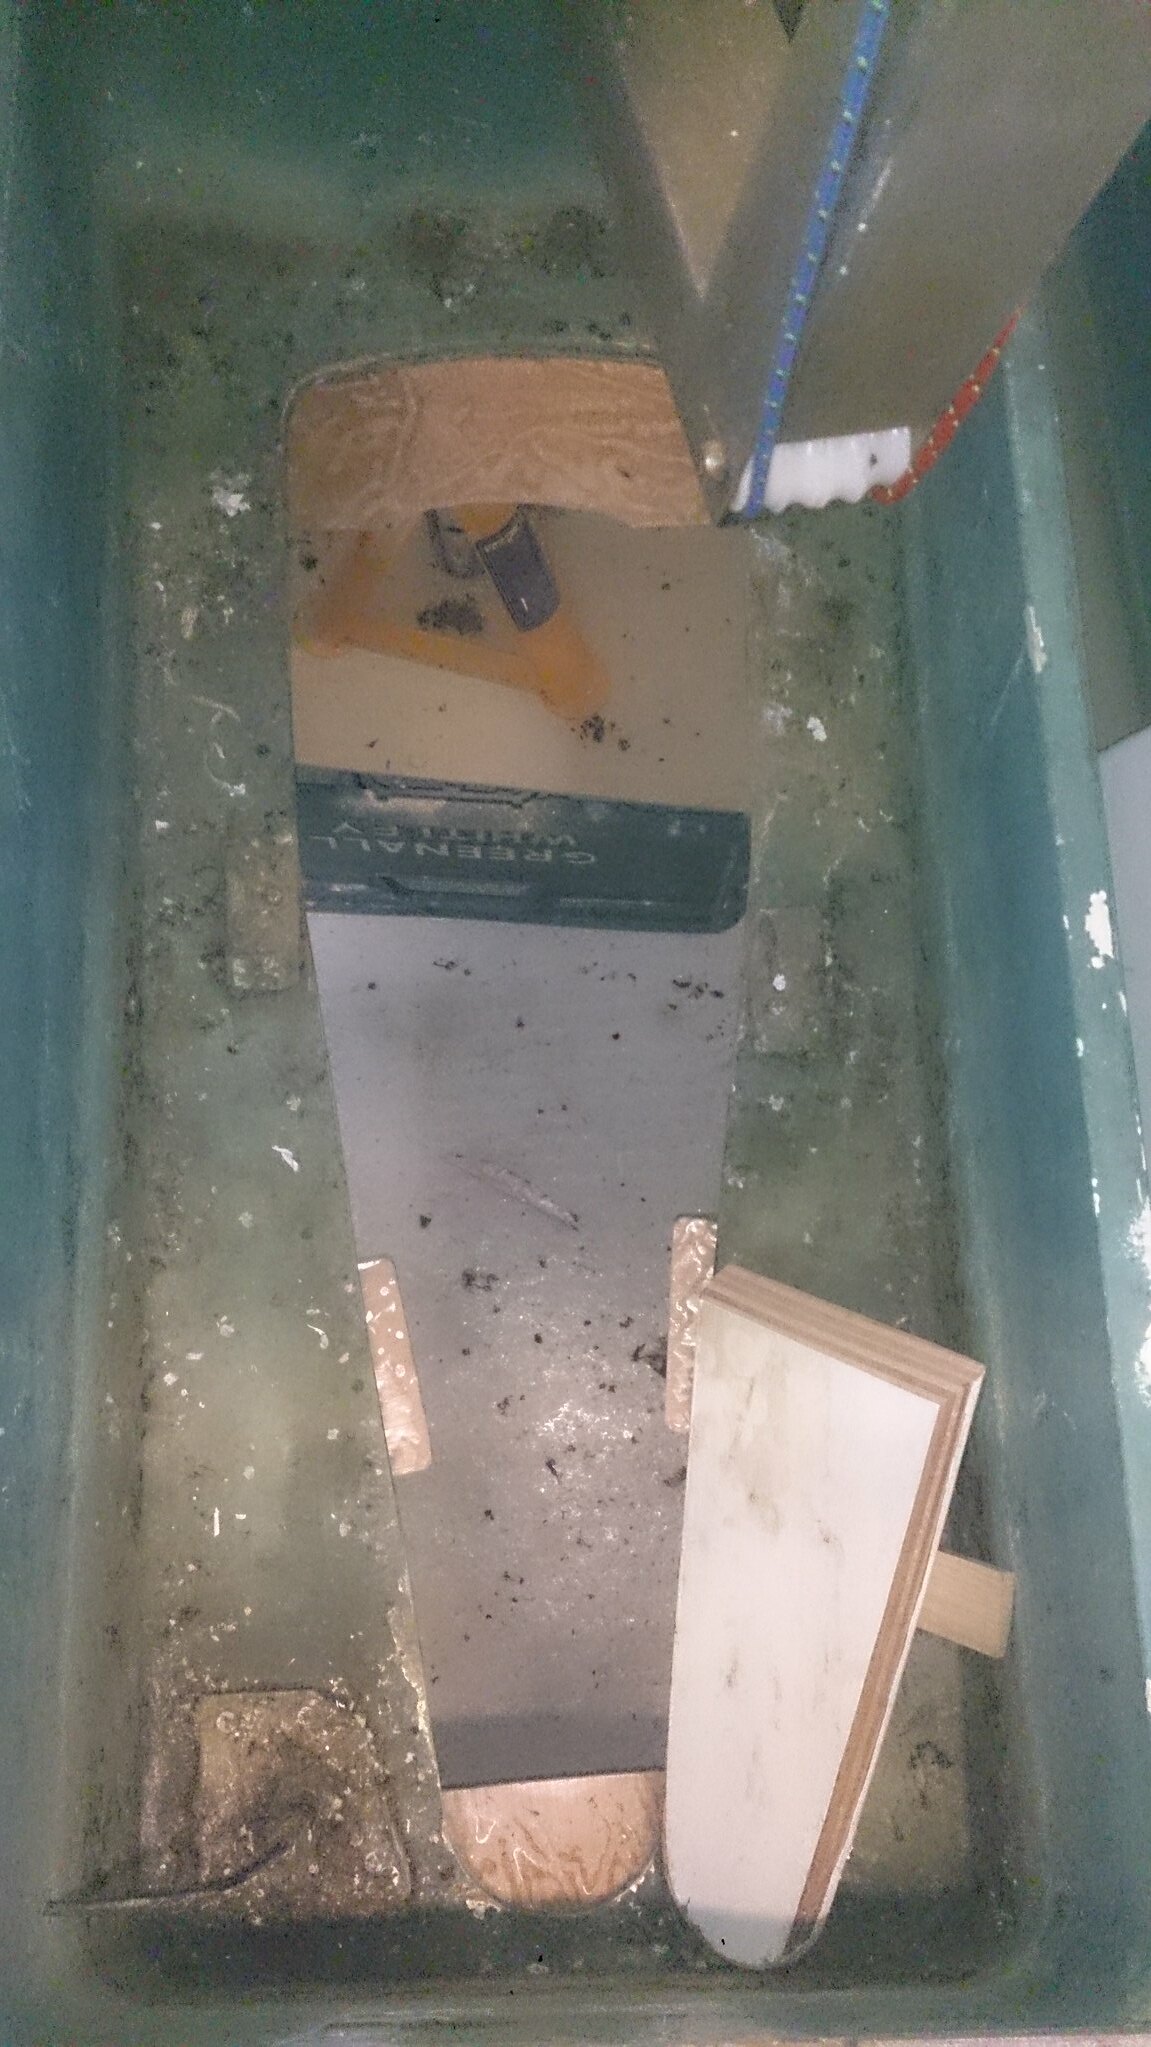
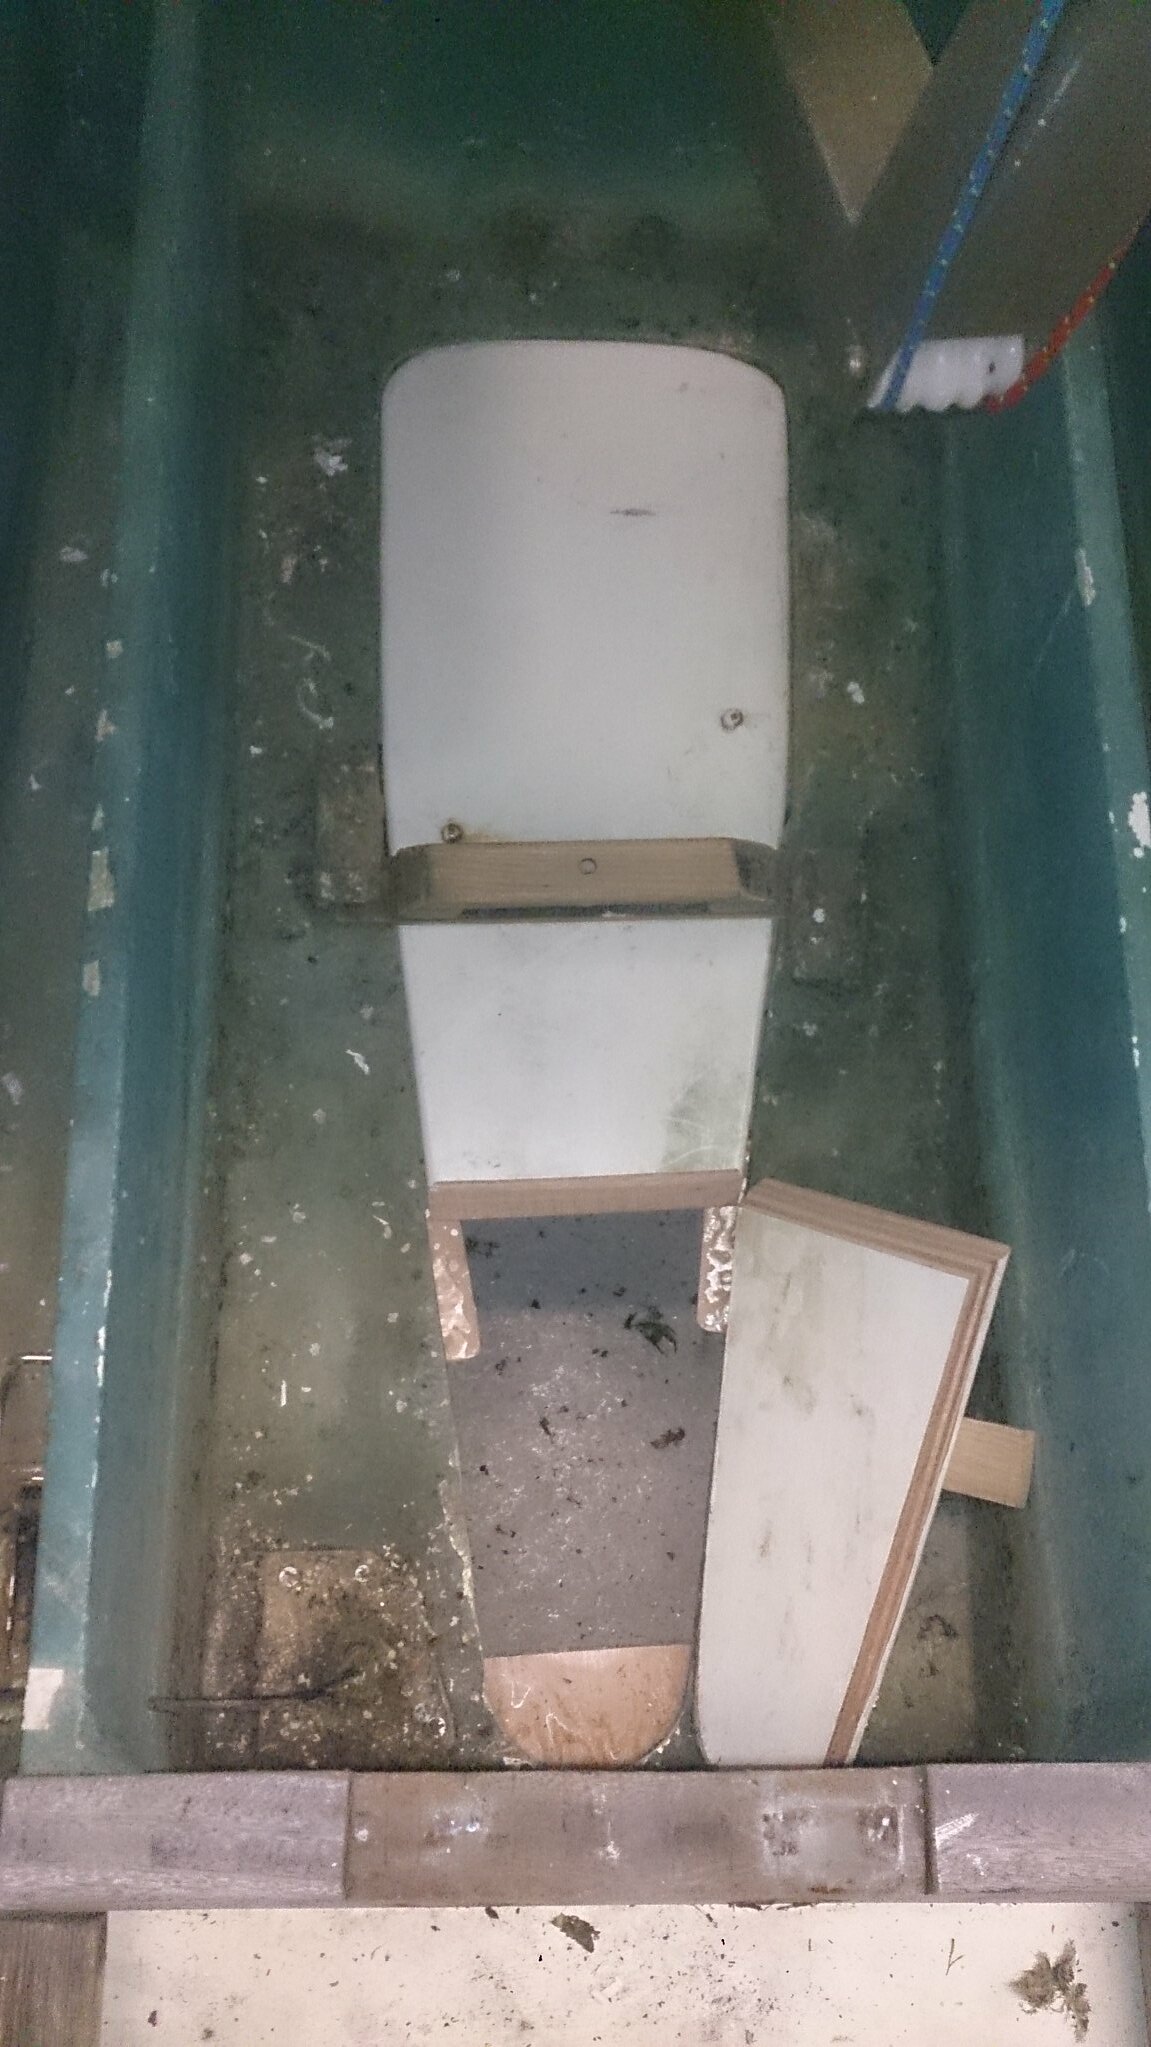
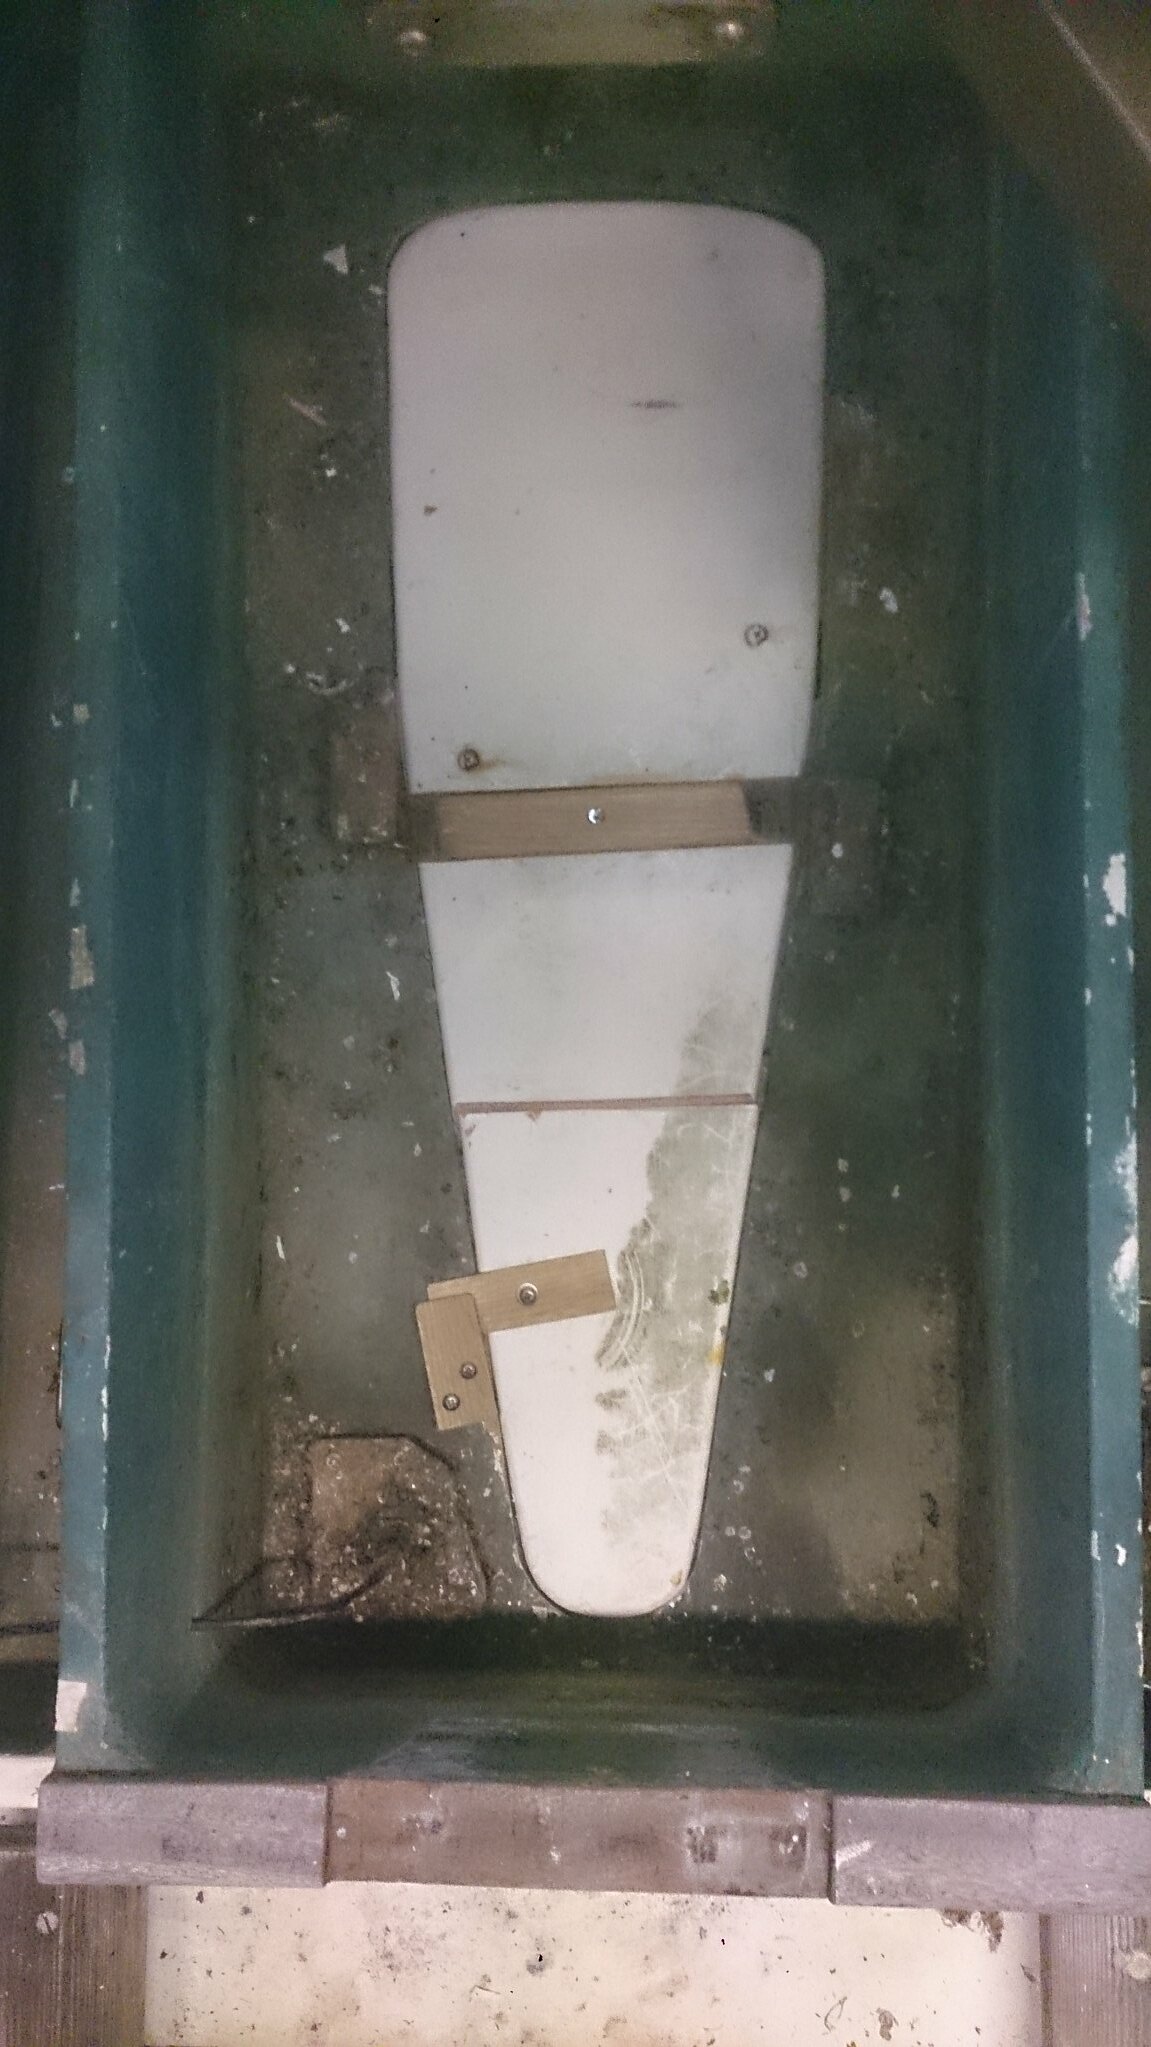
The blanking plate works well, and with four crew on board it is essential to fit it. Otherwise far too much water sloshes up into the cockpit and the self bailers in the sumps can't empty it quickly enough. Fitting the plate under way was very difficult. The space under the outboard is cramped and awkward to get at. The force of up welling water pushes the board out of the way until you can finally twist the locking bar in place. I have modified the set up.
First, I have enlarged the lips at front and back of the well to support the plate. and screwed on intermediate one just aft of the outboard leg in the down position. All in epoxy coated 6mm marine ply. These will need to be anti-fouled.
Then I sawed the plate into two parts, with a bevelled cut, so the edge of the smaller part can rest on the larger. The large part will be put in as before, and can be used when the outboard leg is down, which will be a bonus. It can also be fitted from either side. Full length it can only be fitted under the raised engine from the starboard side.
The short forward length will be hinged to the side of the opening with nylon hinges, so it can be flapped down when needed.
The forward part will be under water all the time as it is permanently in the well. I have considered various ways of hinging the larger part, but there just isn't room under the engine to do it in a simple to use way. But it will be much easier to fit in the shorter length. The small part will be held down with its own oak turn-buckle.
12 September 2014
Winter work starts, and it is only September
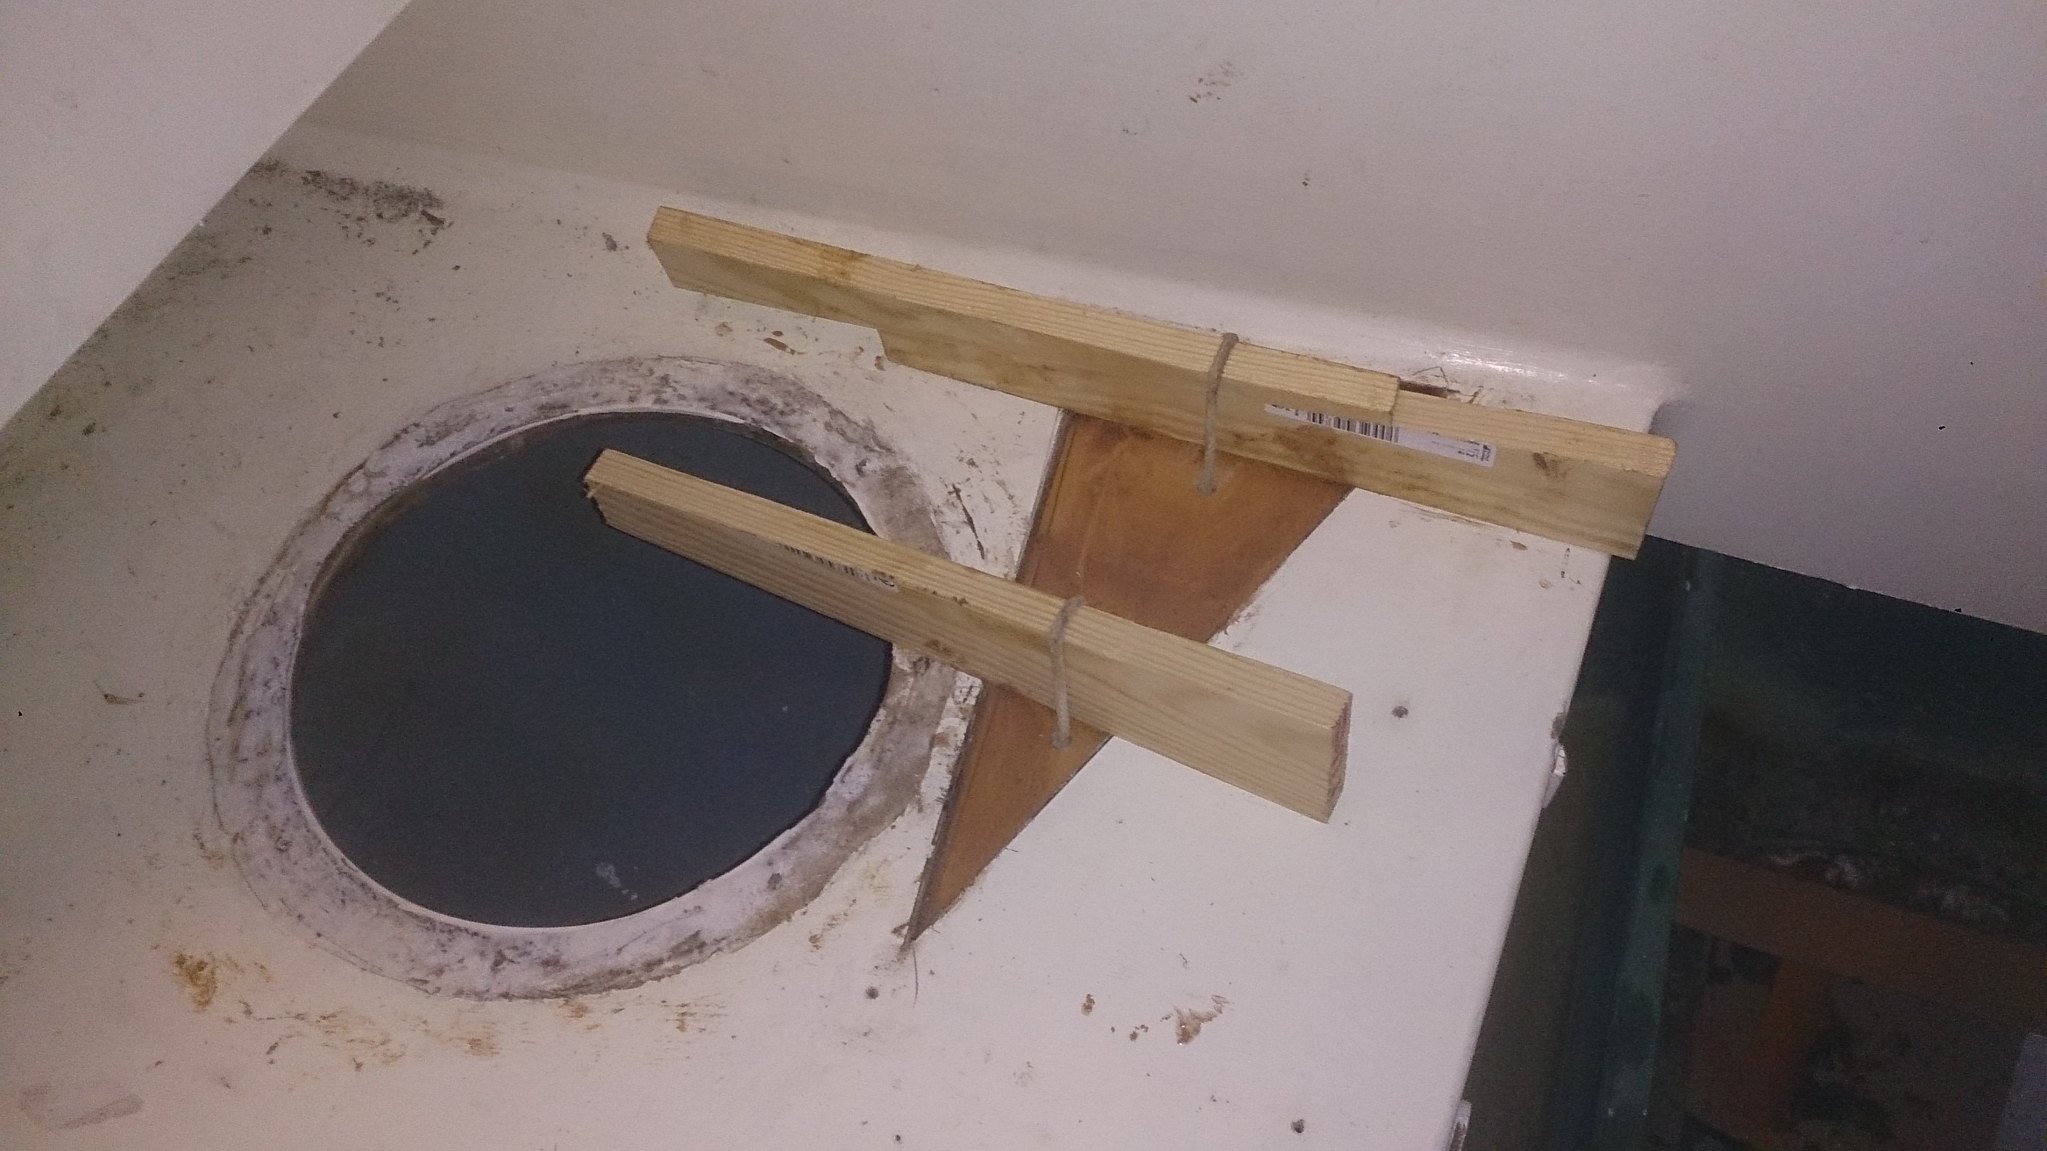
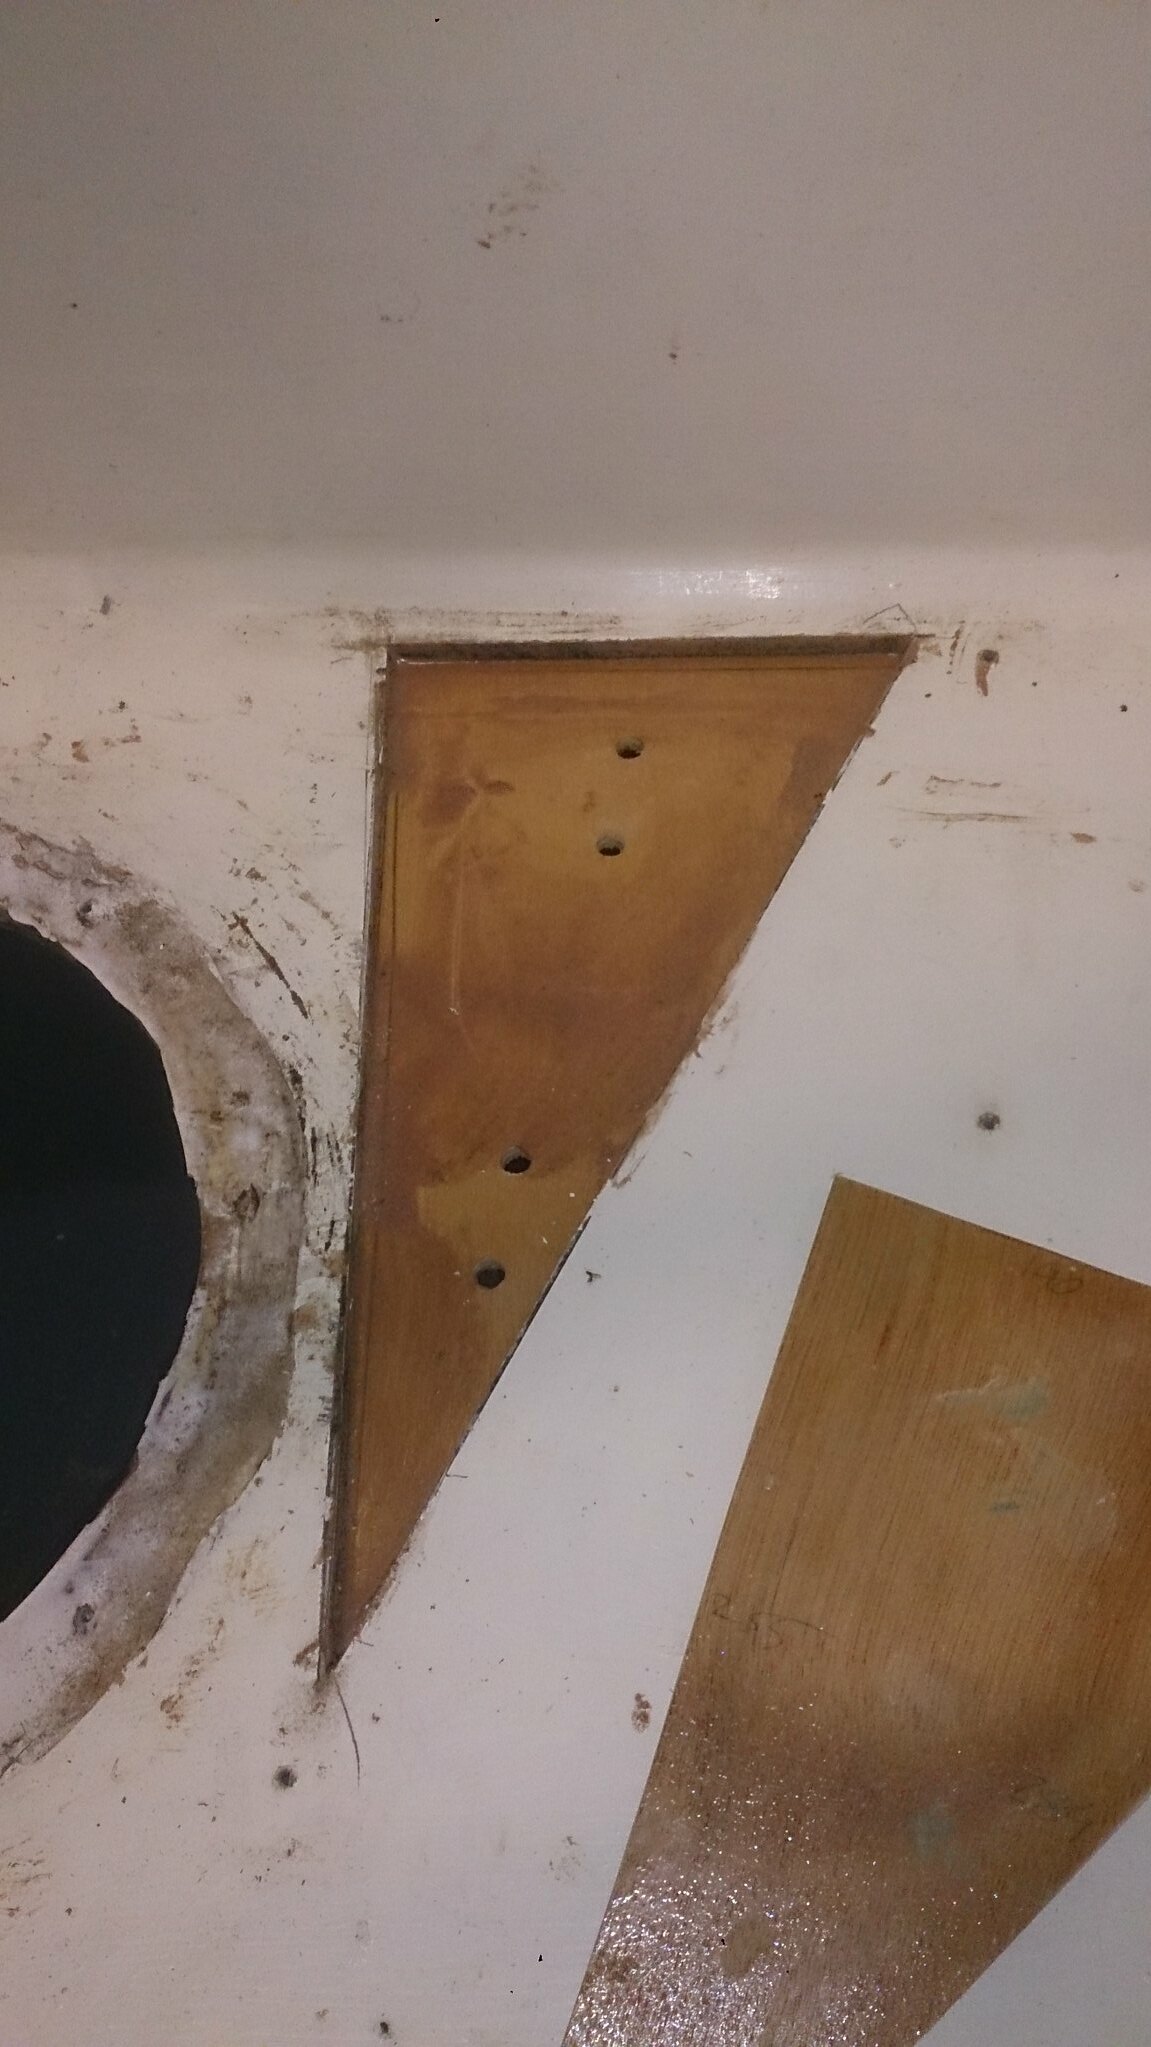
I have started work on the cracked deck in the starboard side bench in the cockpit. The multi-tool cut out the triangular area perfectly. Very easy to plunge into the plywood and control the straight cut. The crack was bad, and surprising. The 6mm plywood looks quite robust, so why it cracked in this area I don't know. Not a highly stressed place, although I do stand on it when going onto the stern deck.
I have cut out two 6mm marine ply patches and coated them with epoxy. The larger goes under the hole and is epoxied top the underside of the deck. Held in place with string loops tightened with wedges.
When the glue is set, the second patch, which fits the hole, will be epoxied on top of the lower layer. This should be stronger than the original deck, if I make it properly. I will probably put a screw in at each corner, just for back up, as I don't trust my gluing all that much. Once all set there will be quite a bit of tidying up to do. (I am resealing all the hatches in the vain hope of making them fully watertight).
6 September 2014
Fantastic English Raid 66nm over a week
The English Raid was great fun. We got there a few days early as we had a flat booked at Mylor Harbour. That meant we could sail out amongst the Tall Ships, which were parading and then setting off for London. Absolutely wonderful to see and sail right in the midst of these huge ships and cutters.
The Raid was god fun, with light hearted racing around Carrick Roads, with picnics ashore and cream teas at the seaside Pandora Inn at Restronguet. The weather was fabulous. Sunny and breezy in the day and sunny and calm in the evening. Only slight disappointment was that we didn't go down to the Helford River, as the east wind would have made it hard for the smaller boats.
Brought Daisy G home. Decided it wasn't worth launching back at Poole for just a couple of weekends at the most. So the winter tinkering season is about to get underway.
Subscribe to:
Comments (Atom)

