7 October 2014
First coat of paint on the patched deck
30 September 2014
Repairs and changes ongoing.

21 September 2014
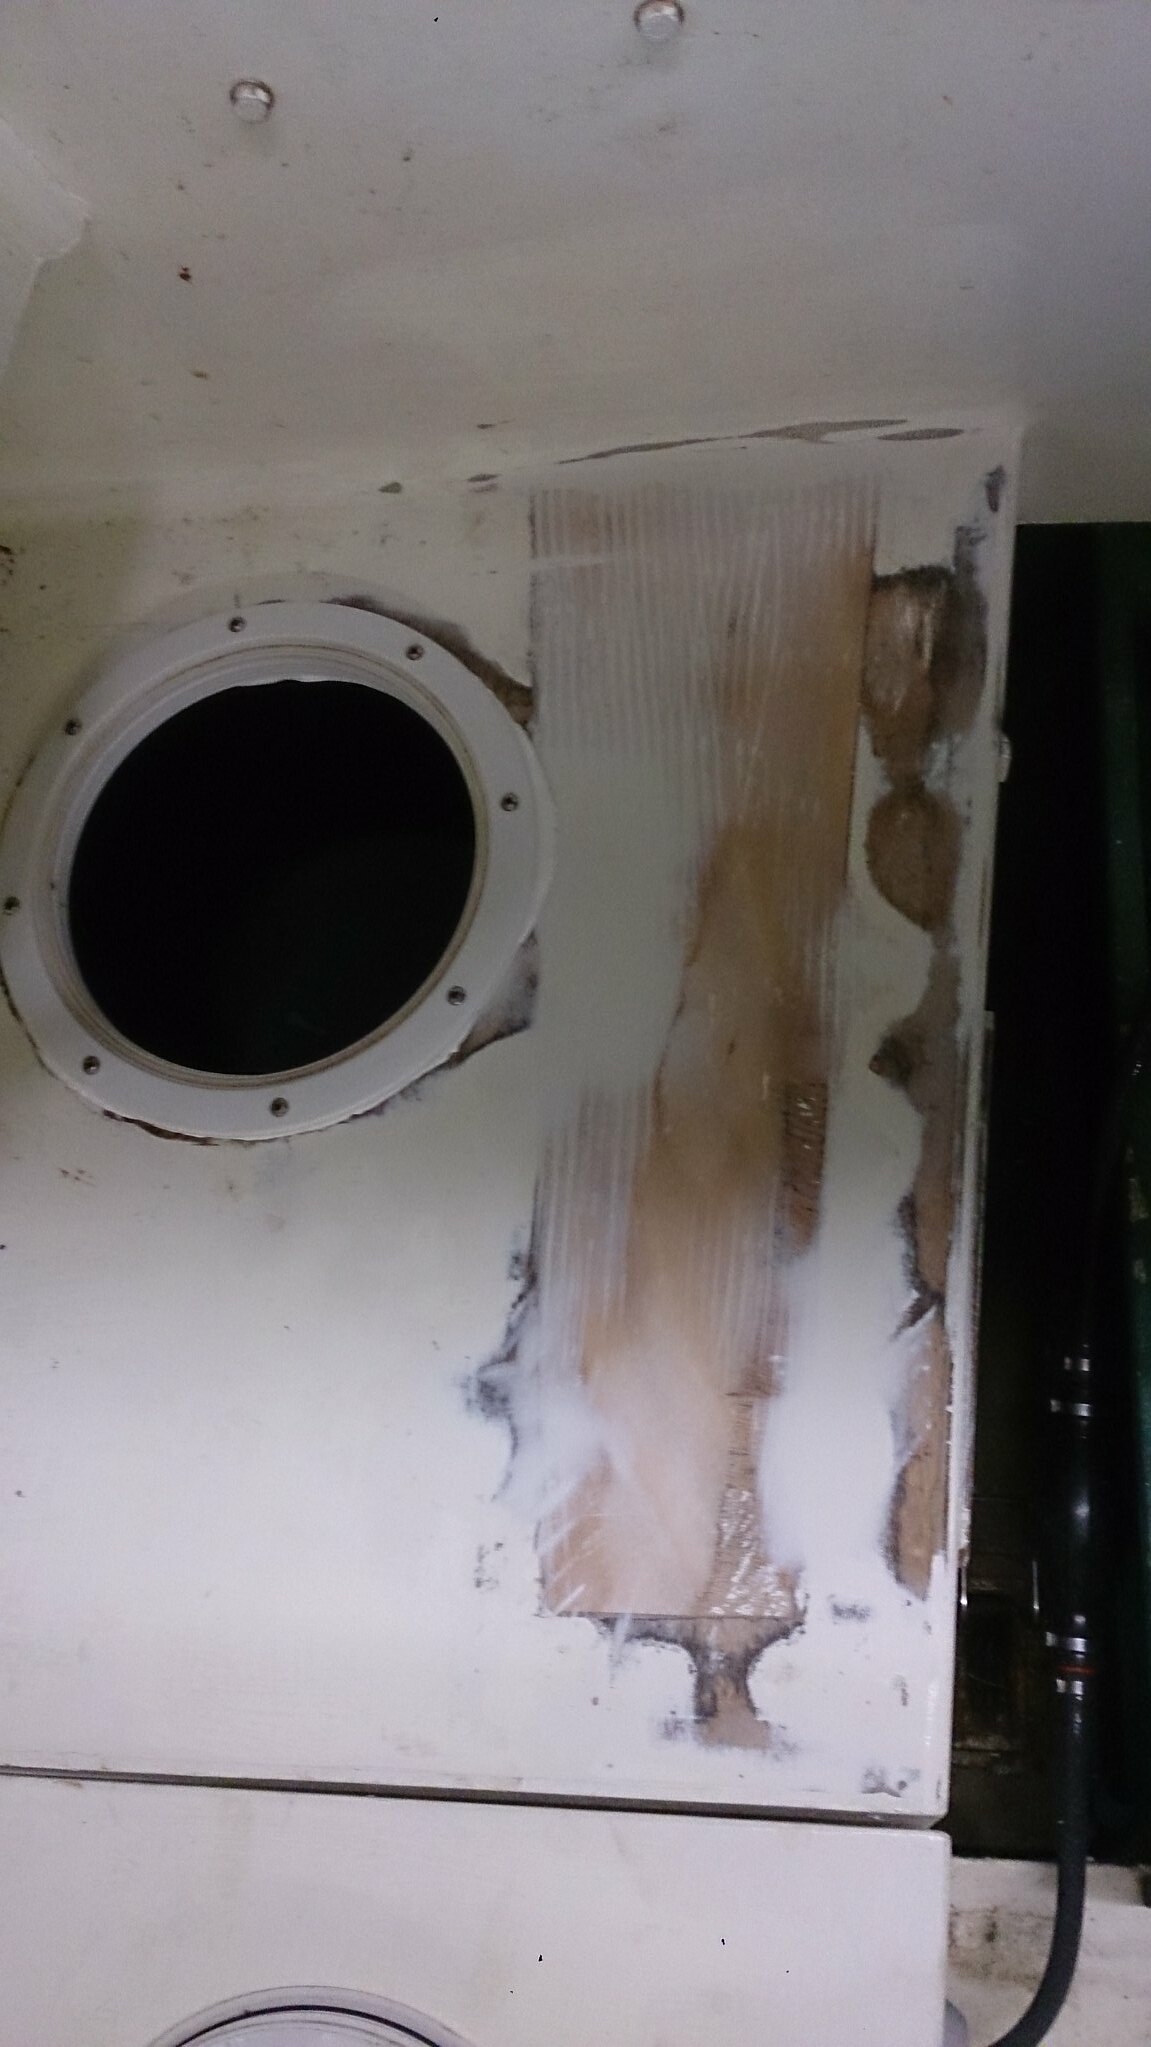
Fitting deck glands
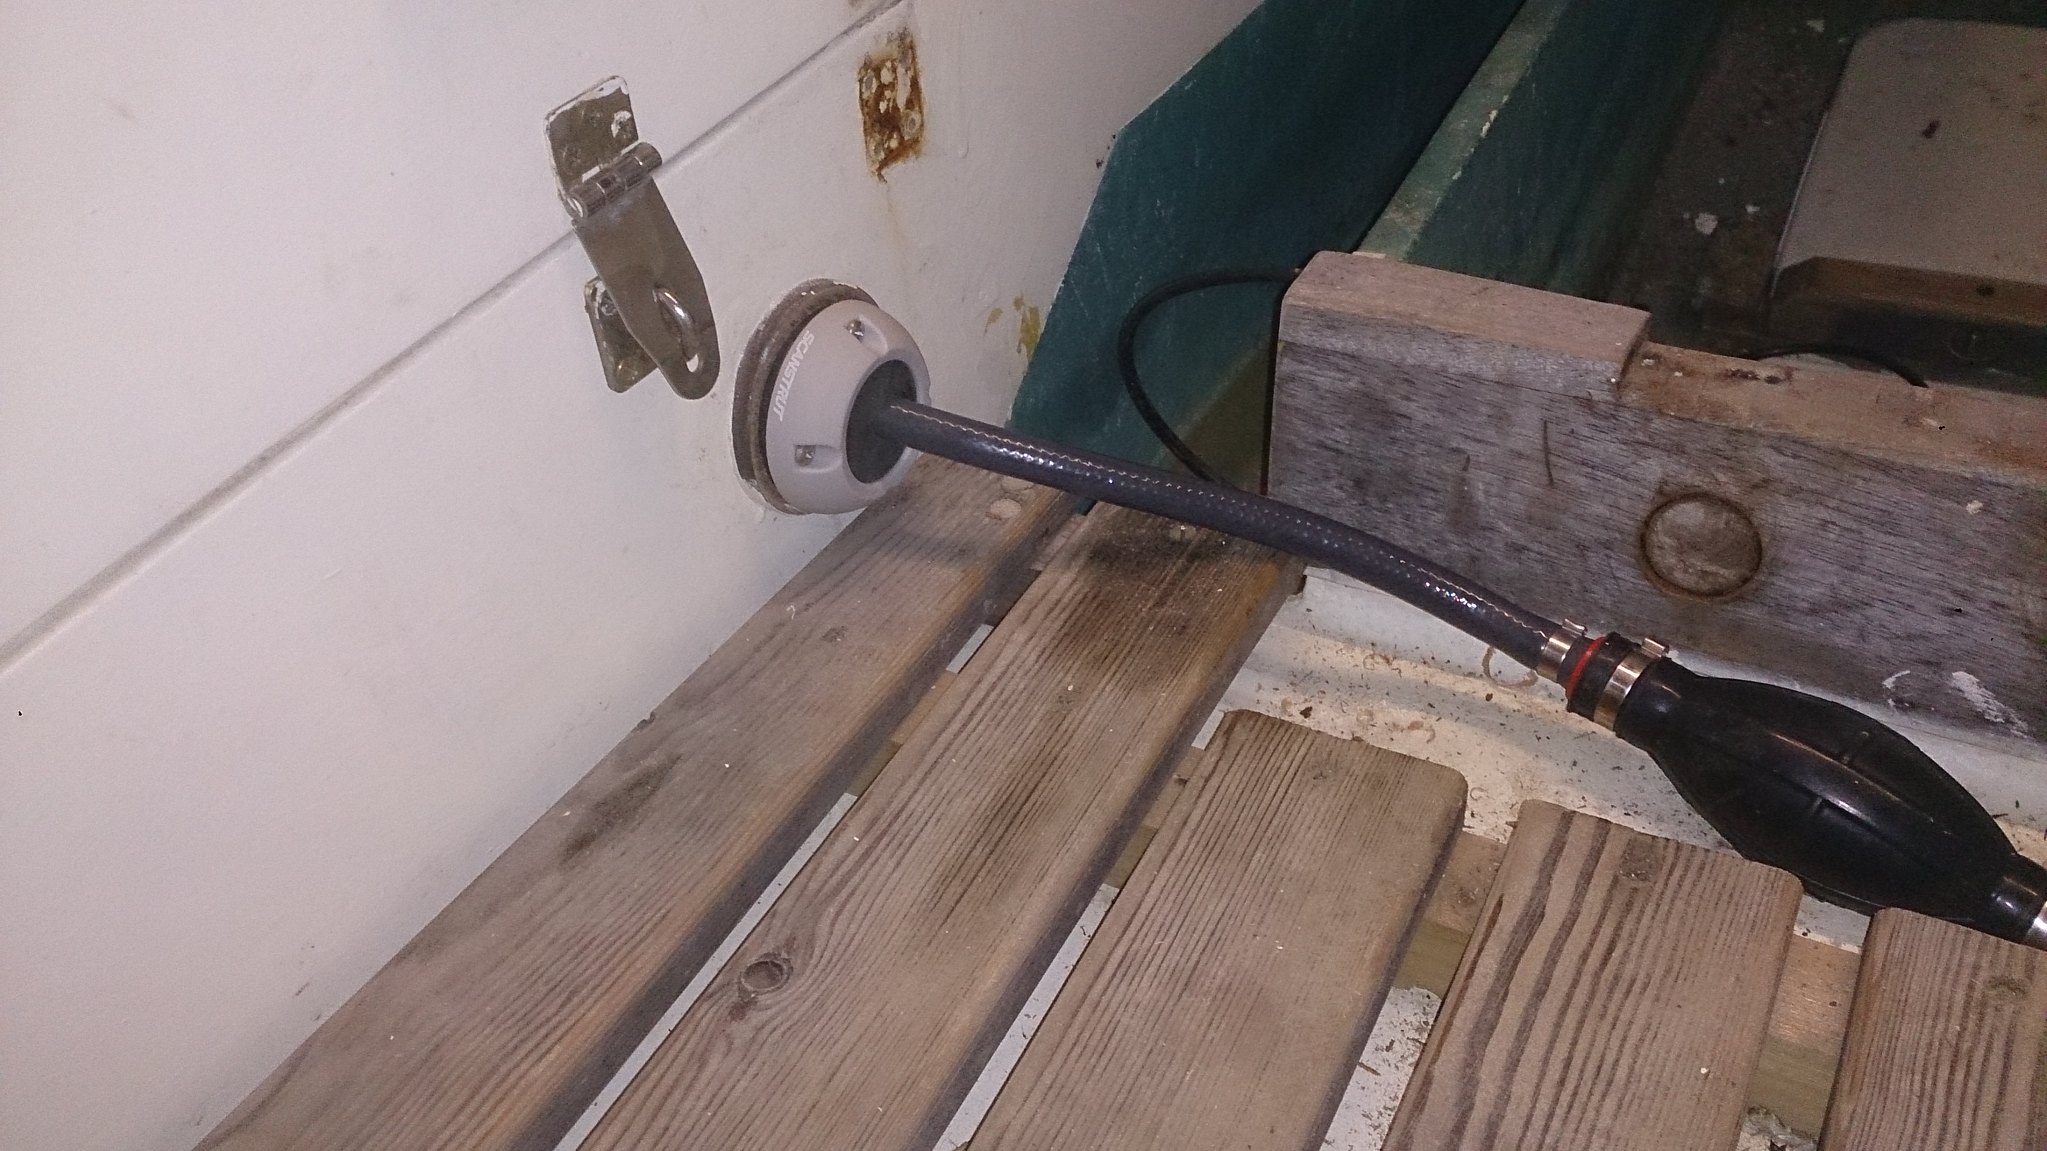
I am going to reroute the depth sounder cable to the opposite side of the boat. I can take it directly into the end of the quarter berth, through another deck gland, and then through trunking to the display unit. This means no unsealed holes into the cabin, which is how it is routed at present.
18 September 2014
Re-doing deck repair

16 September 2014
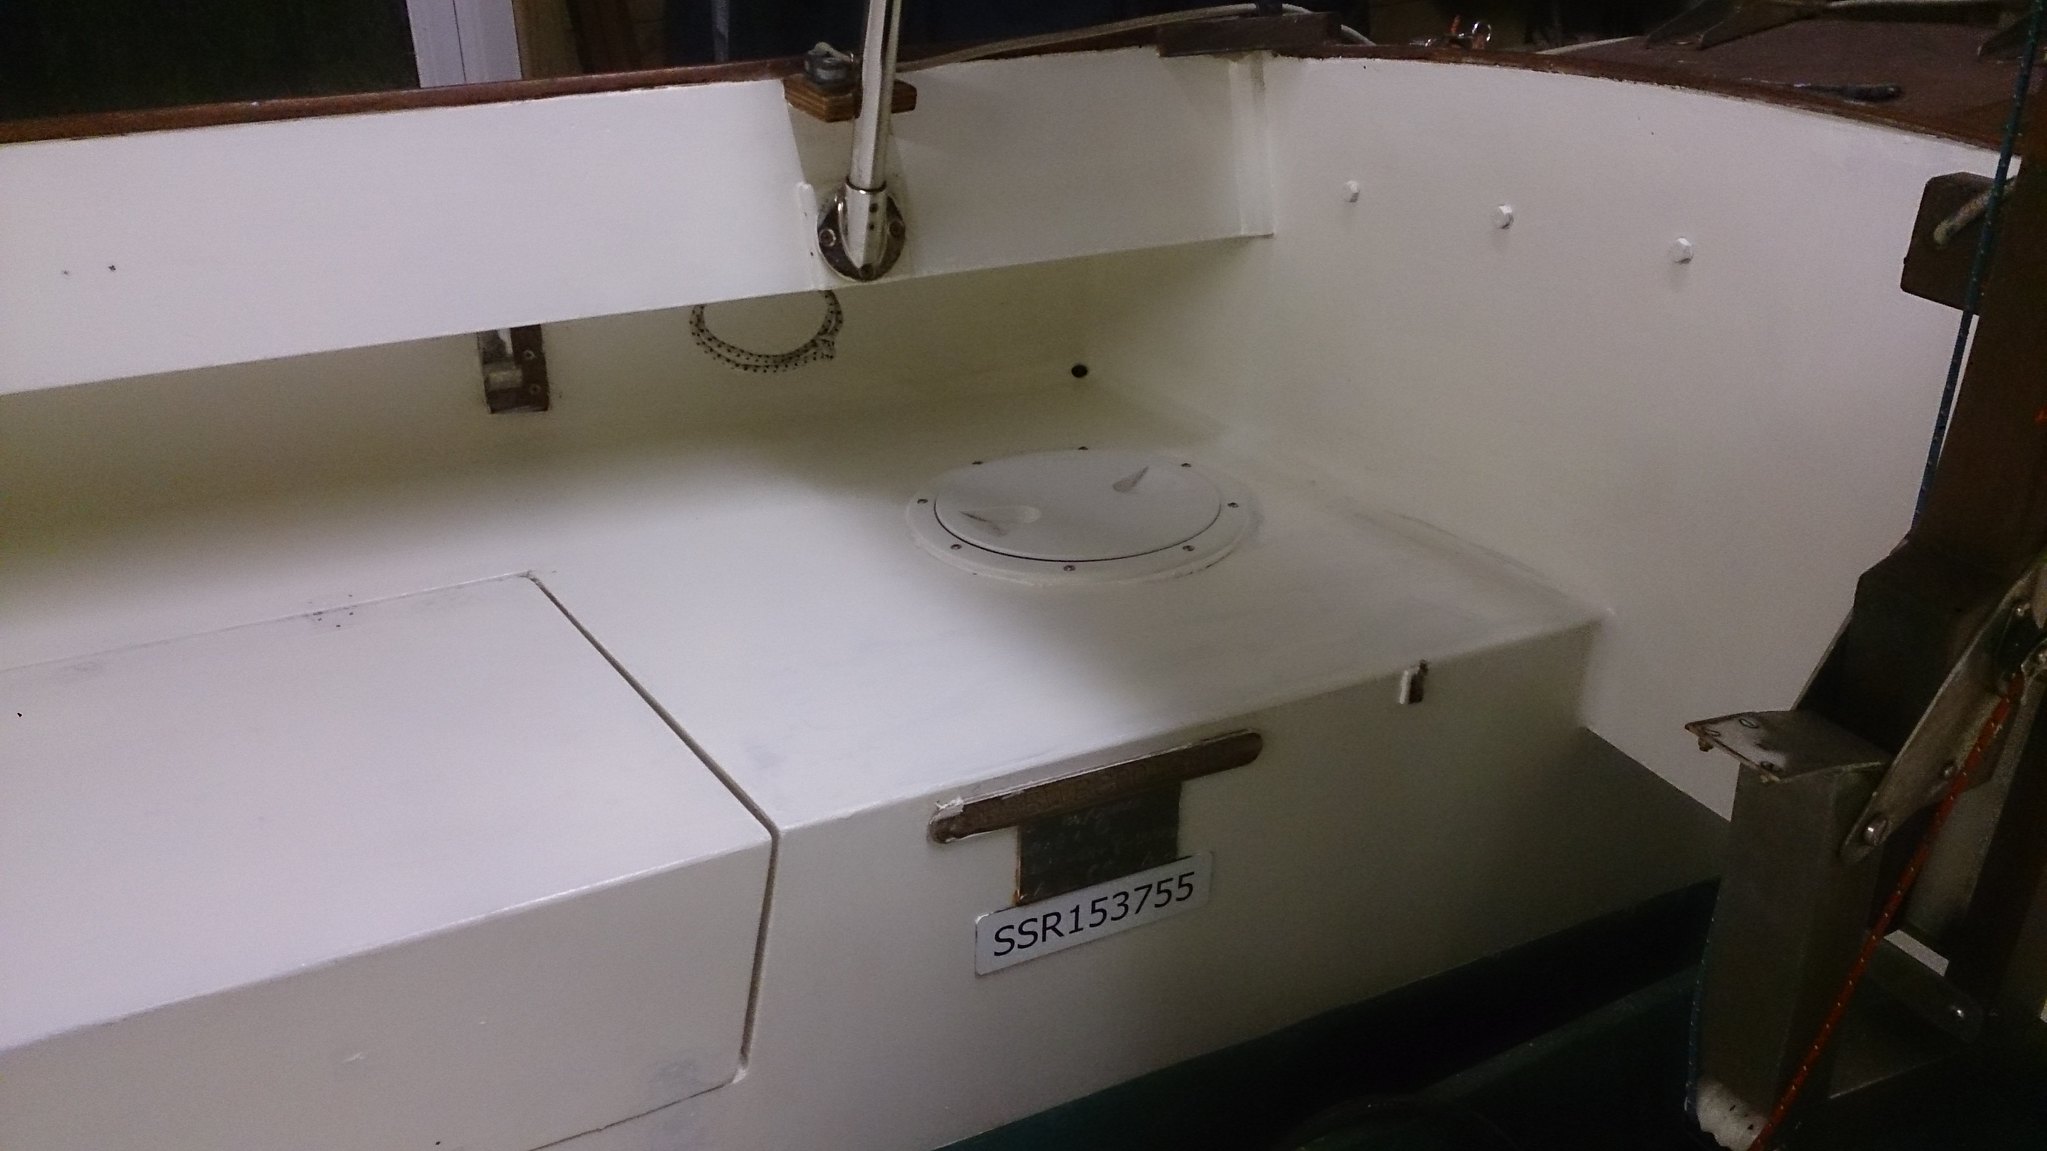
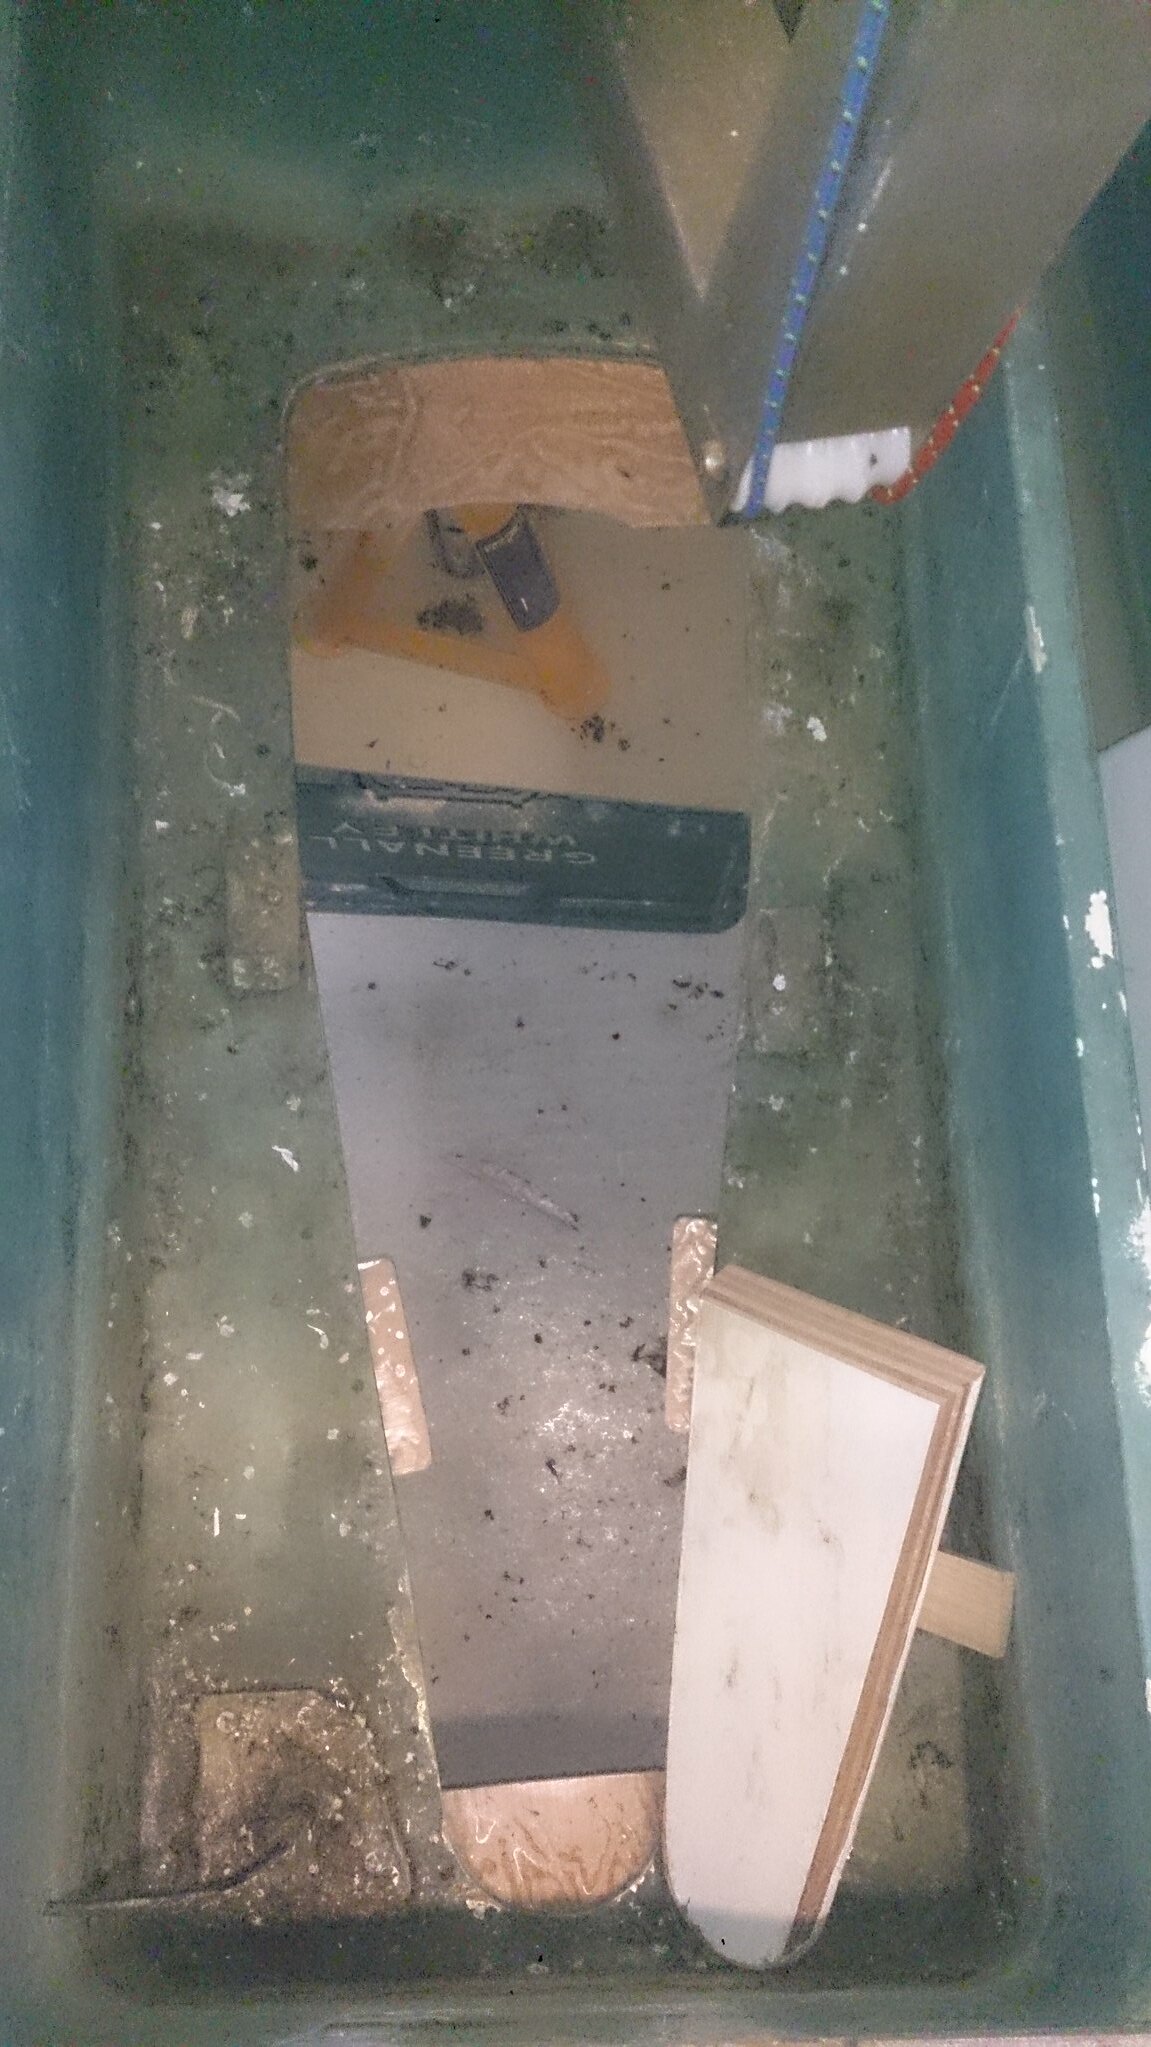
Outboard well blanking plate.
The blanking plate works well, and with four crew on board it is essential to fit it. Otherwise far too much water sloshes up into the cockpit and the self bailers in the sumps can't empty it quickly enough. Fitting the plate under way was very difficult. The space under the outboard is cramped and awkward to get at. The force of up welling water pushes the board out of the way until you can finally twist the locking bar in place. I have modified the set up.
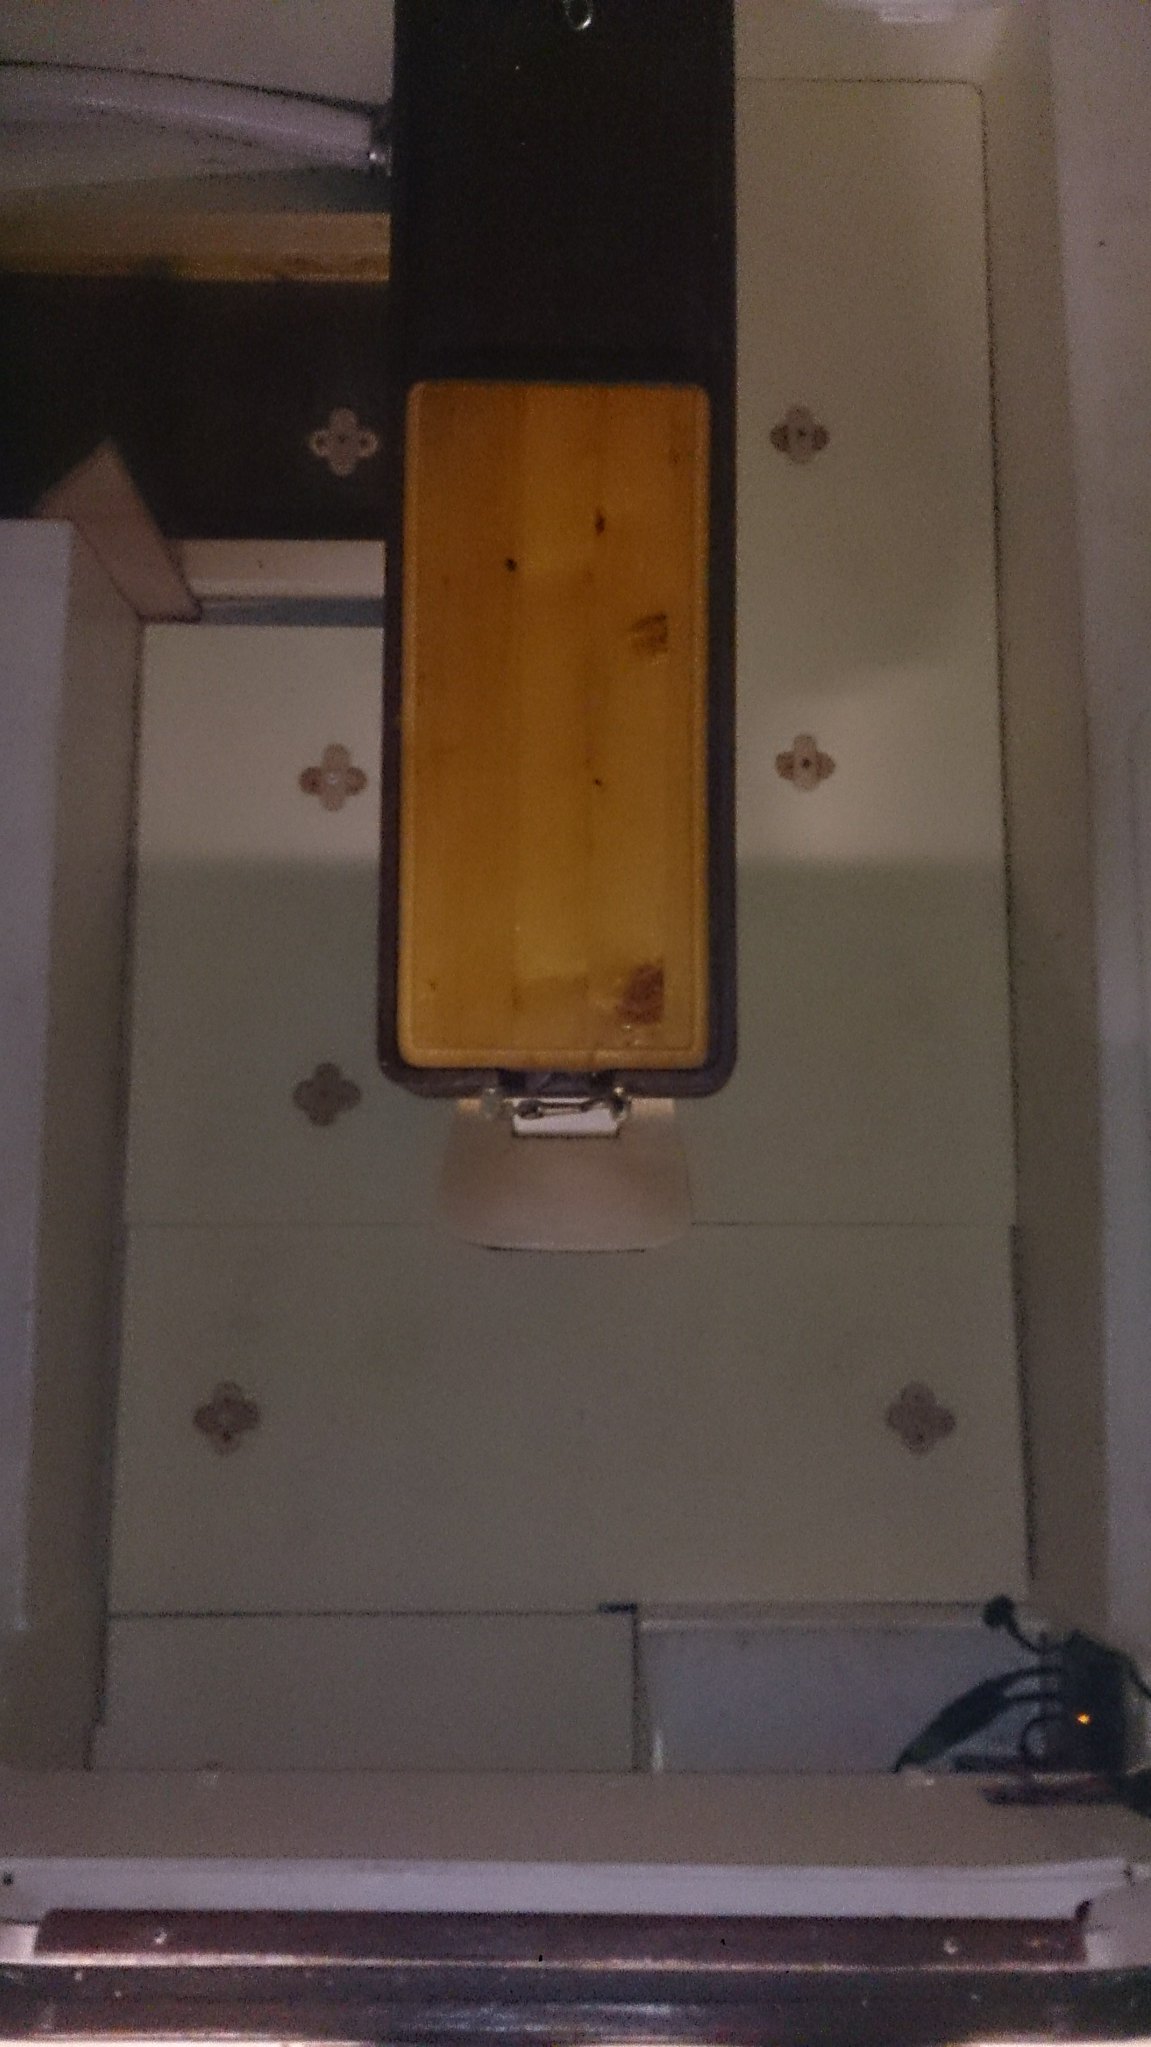
 First, I have enlarged the lips at front and back of the well to support the plate. and screwed on intermediate one just aft of the outboard leg in the down position. All in epoxy coated 6mm marine ply. These will need to be anti-fouled.
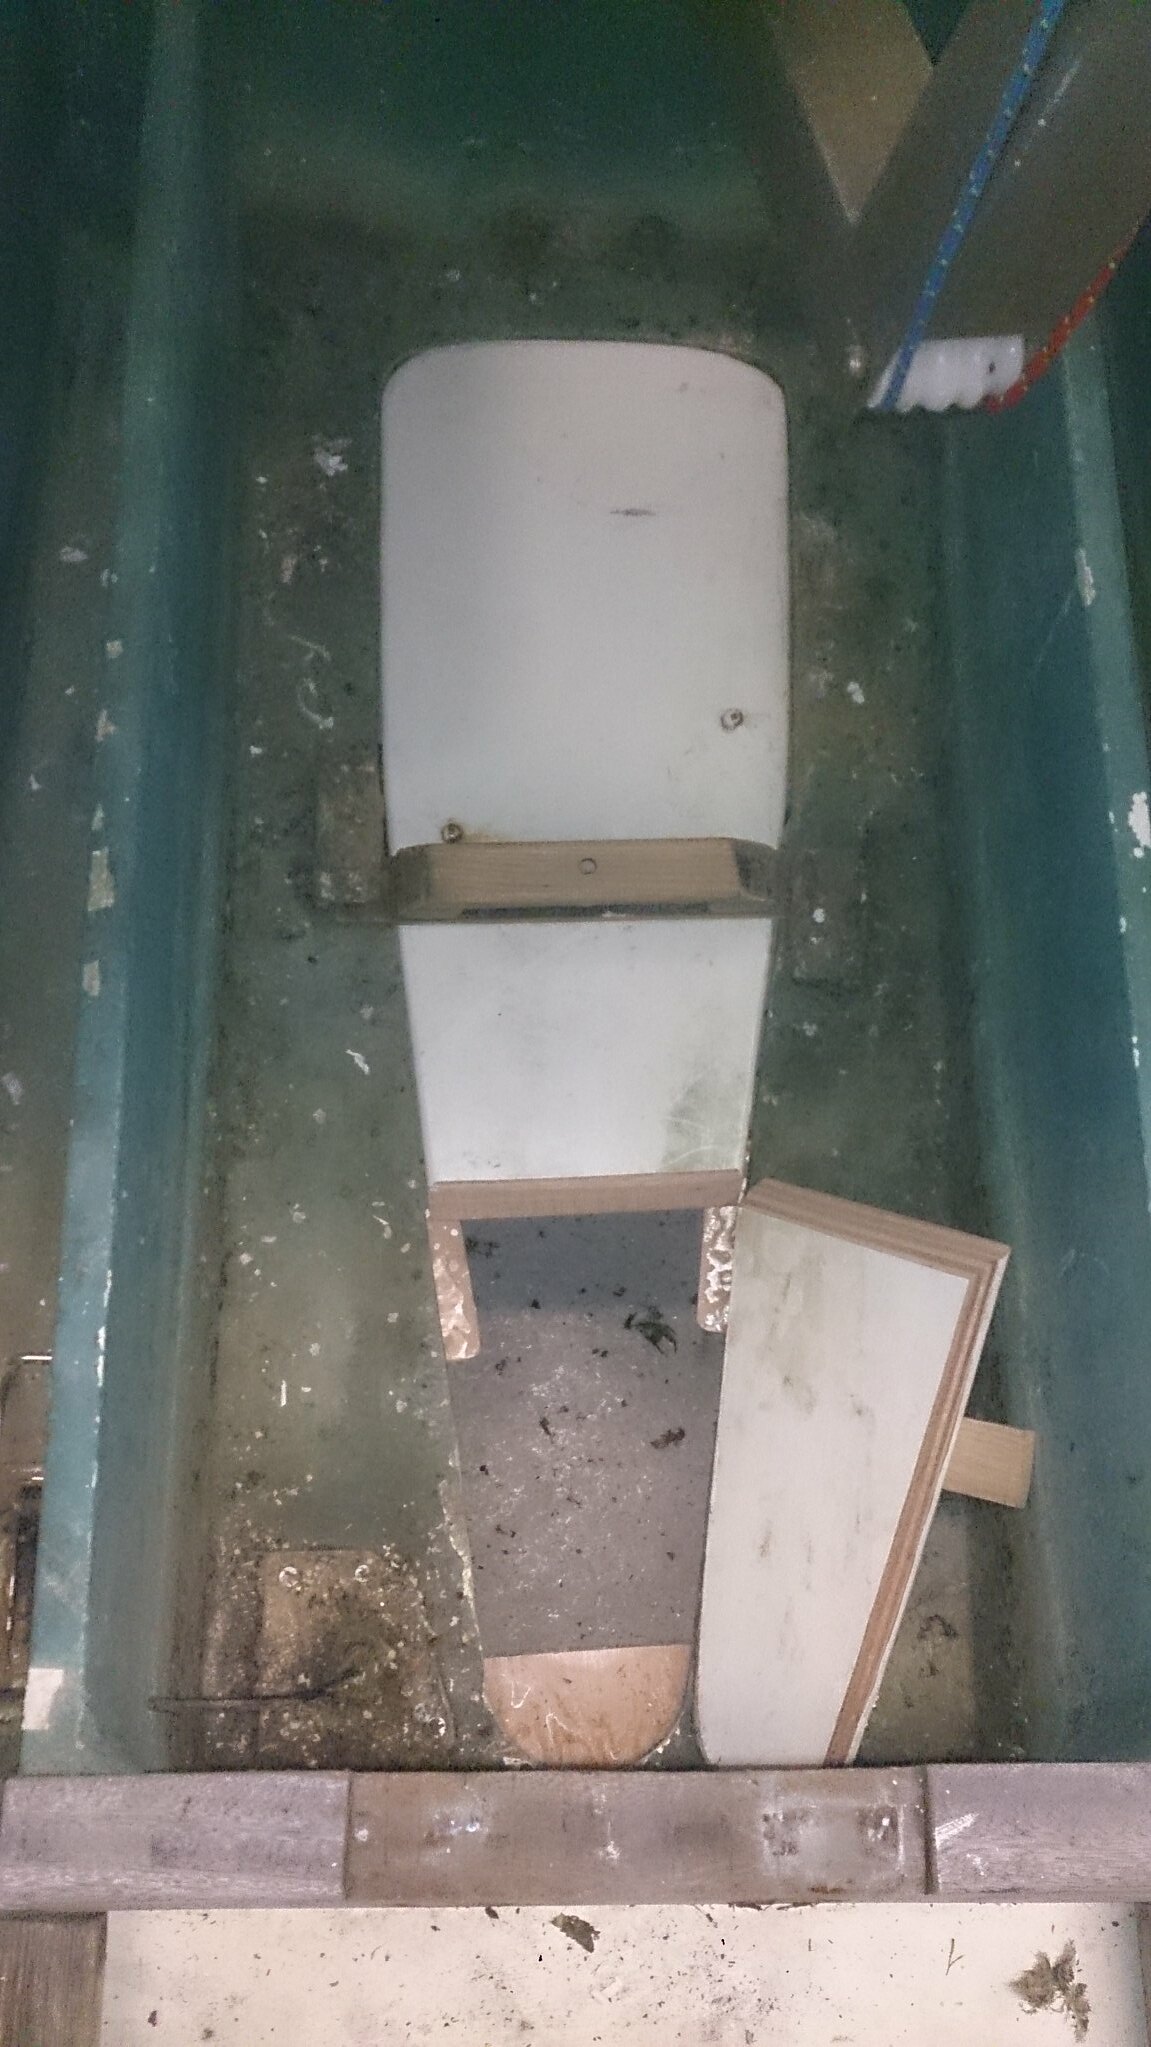 Then I sawed the plate into two parts, with a bevelled cut, so the edge of the smaller part can rest on the larger. The large part will be put in as before, and can be used when the outboard leg is down, which will be a bonus. It can also be fitted from either side. Full length it can only be fitted under the raised engine from the starboard side.
The short forward length will be hinged to the side of the opening with nylon hinges, so it can be flapped down when needed.
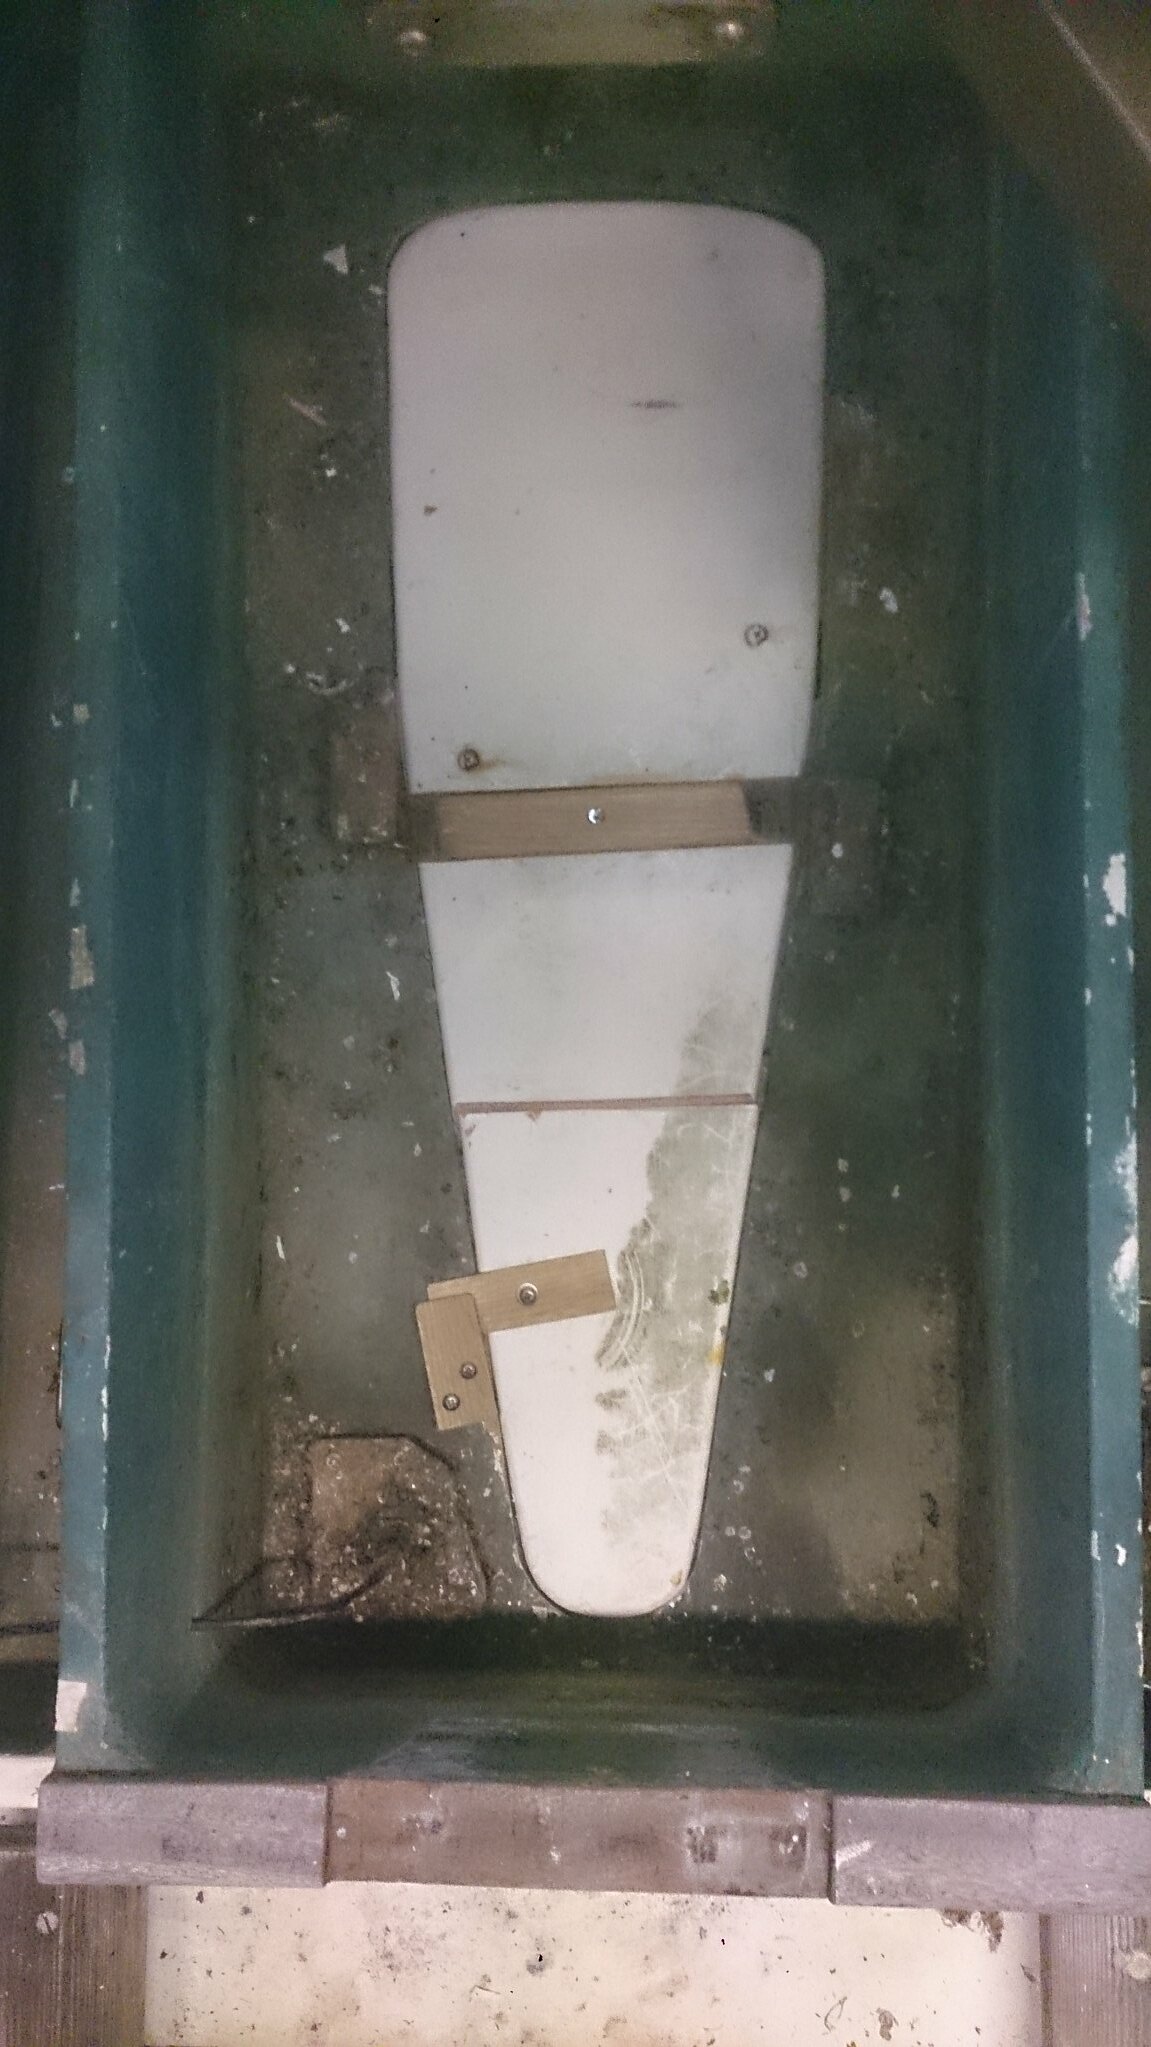 The forward part will be under water all the time as it is permanently in the well. I have considered various ways of hinging the larger part, but there just isn't room under the engine to do it in a simple to use way. But it will be much easier to fit in the shorter length. The small part will be held down with its own oak turn-buckle.
The short forward length will be hinged to the side of the opening with nylon hinges, so it can be flapped down when needed.
Subscribe to:
Posts (Atom)